The LACMA team is working together from our respective homes to bring you interesting content and creative activities while the museum is temporarily closed to the public. We may not be able to gather together, but we can still create something beautiful.
Inspired by Dutch still life paintings, you can create your own still life at home with a few simple materials and some creativity!
These paintings contained objects from everyday life. Sometimes the artists chose objects that were symbolic or personal. Sometimes it was simply for their shape and color.
Step One: Gather Your Materials
All you need for this project are some sheets of paper, a writing utensil, and some objects you have around your home.
Supplies:
- Paper—8.5”x11” or larger
The best paper for this project is scrap or blank paper. For example: notebook paper, printer paper, recycled paper, newspaper, etc. - Something to make a mark
Pencils, crayons, markers, highlighters, pens— Whatever you can find at home! - Anything in your house you want to draw!
It can be the dishes on your table, the utensils you eat with, apples and oranges jewelry and accessories, your clothes, Tupperware, pennies and dollars, the objects on your desk, or even toilet paper! Anything and everything is ideal for your still life.
Step Two: Look at Still Life with Cheeses, Artichoke, and Cherries by Clara Peeters
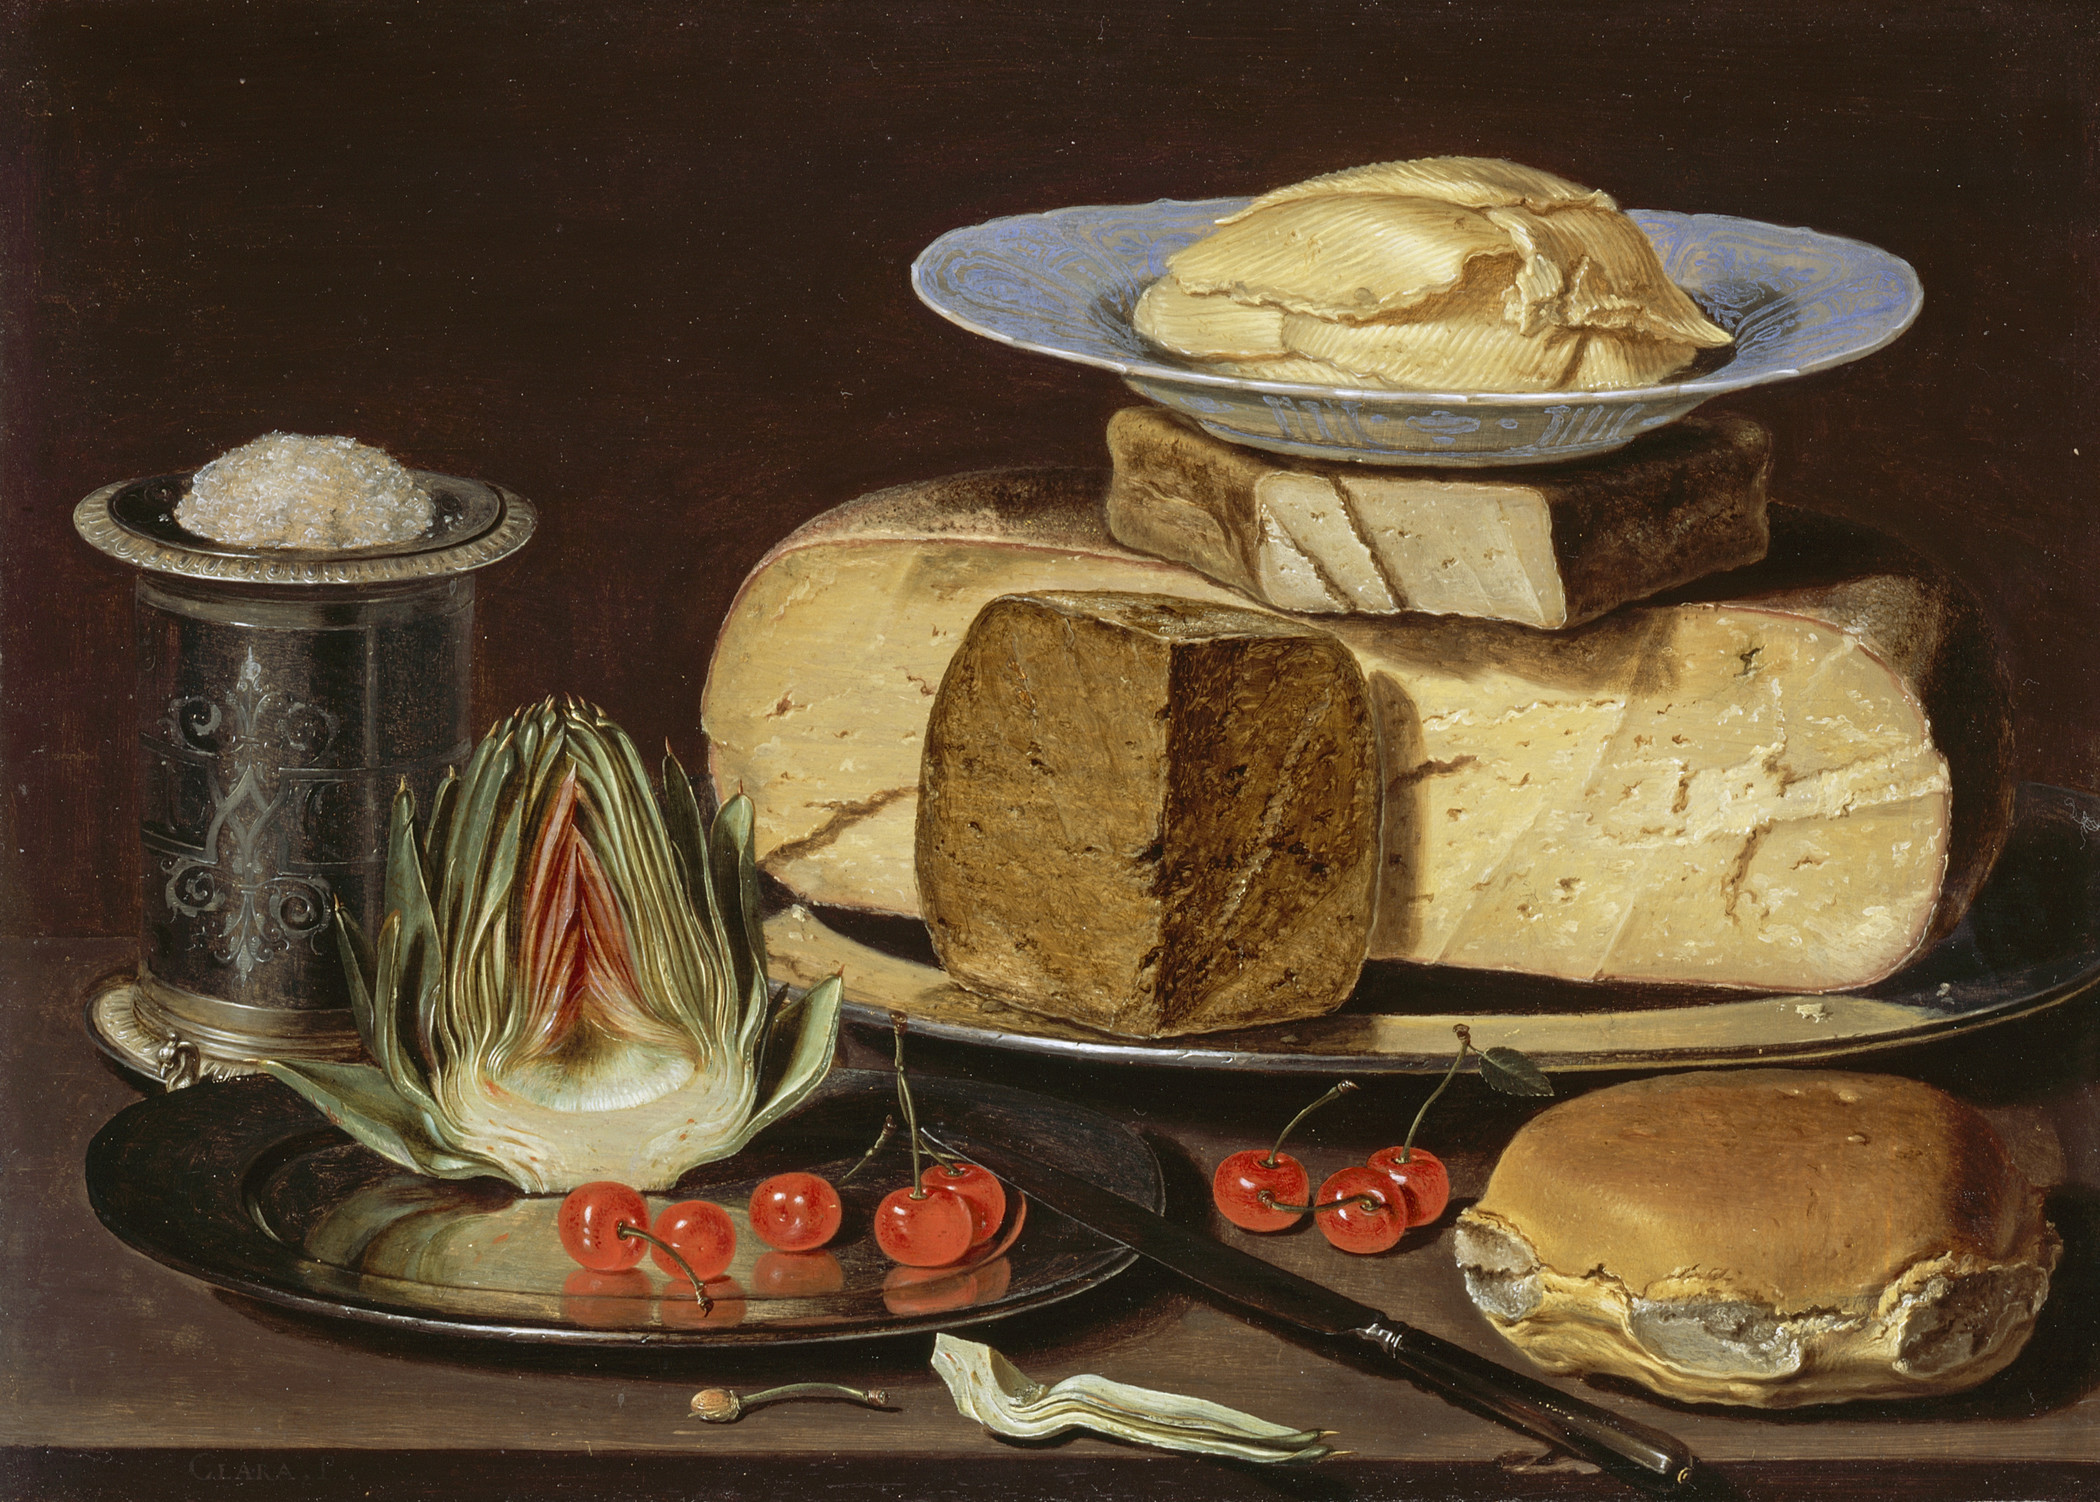
Take a long look at the art. The longer you look, the more you will see!
Find the following:
- Objects—Name the objects you see. How many objects can you find?
- Layers—What feels closer, what feels farther away?
- Shadows—Look for the shadows in this artwork. Do you see them under the objects?
Step Three: Set Up Your Still Life
Find an area in your house with lots of light and space. Then choose two to three of the objects you collected. Once you have selected your objects, you will want to carefully arrange them in your still life—not make it completely random! This will help when you begin to draw.
Step Four: Draw!
Once your still life is all set up, find a spot close by to sit, turn on some good music, get your paper and writing utensil: it’s time to draw!
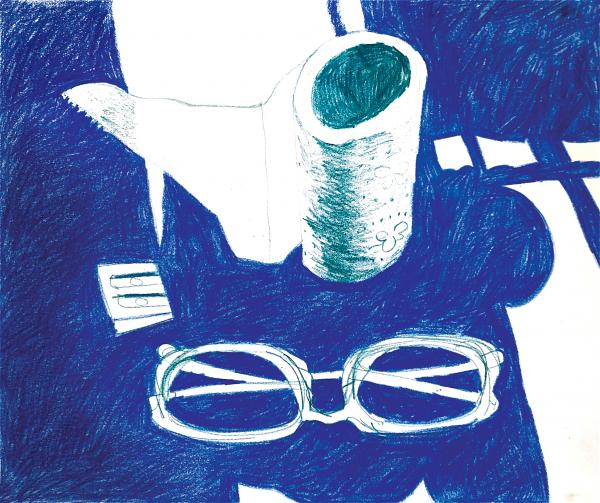
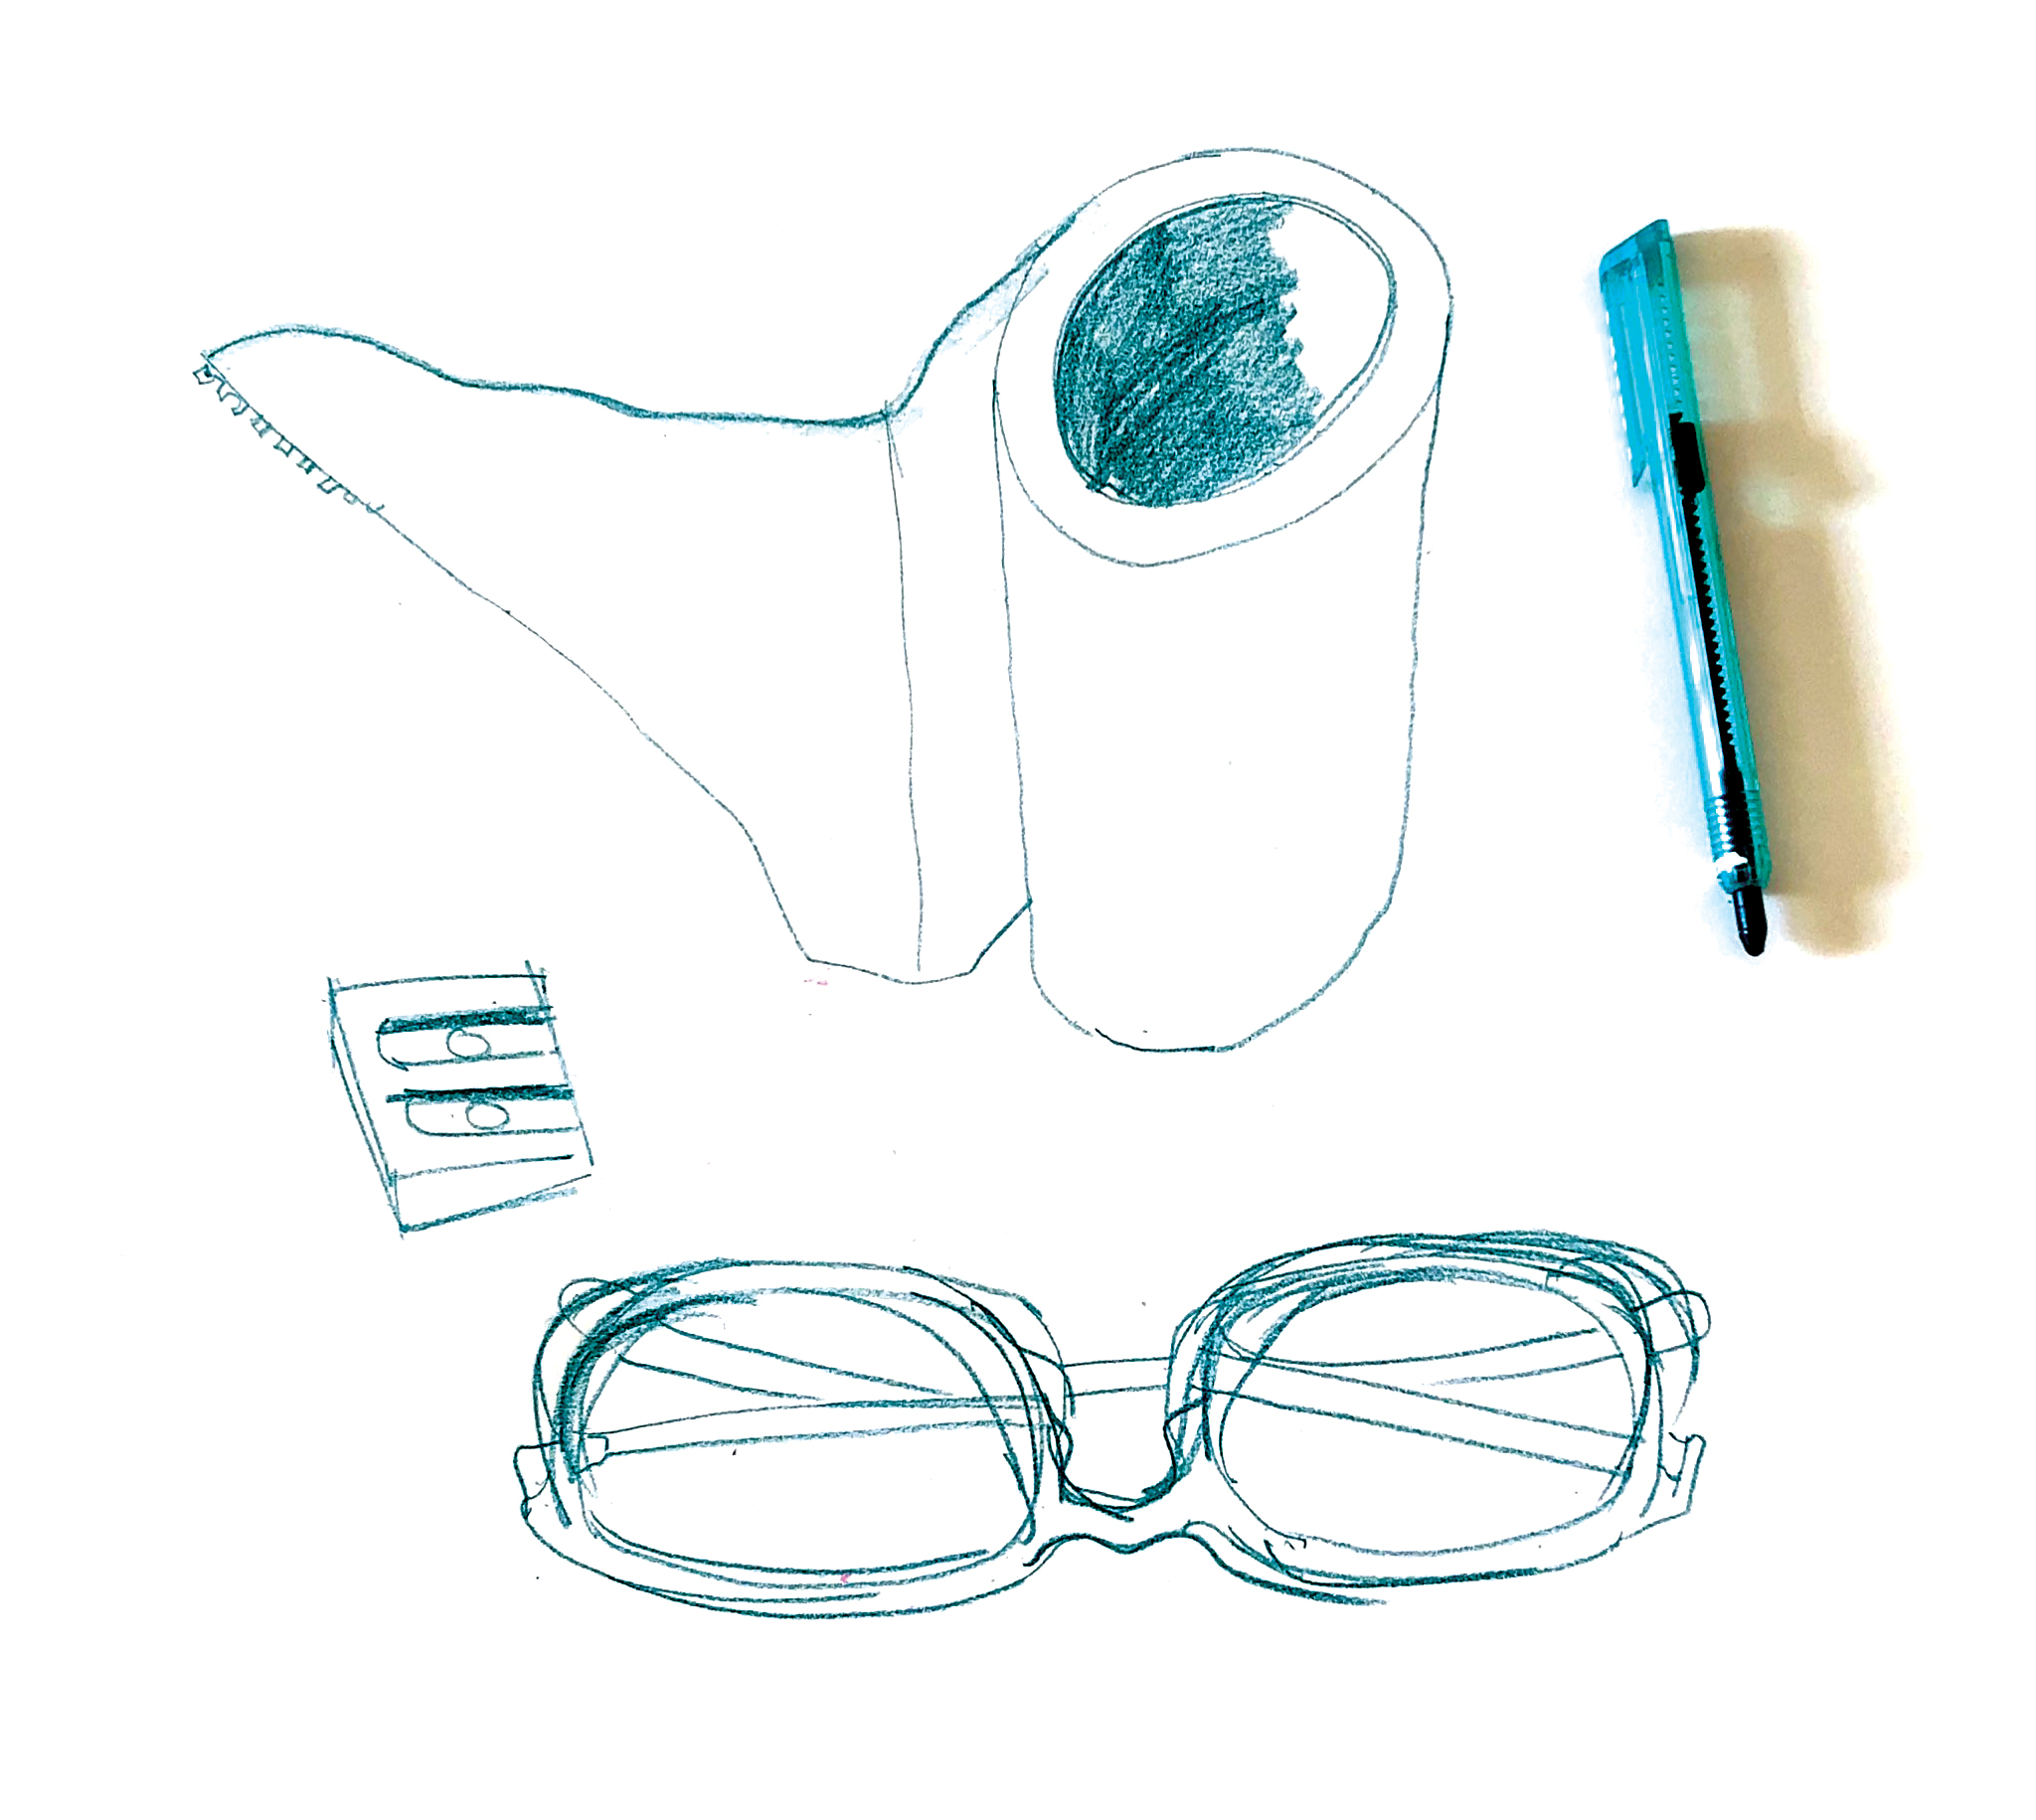
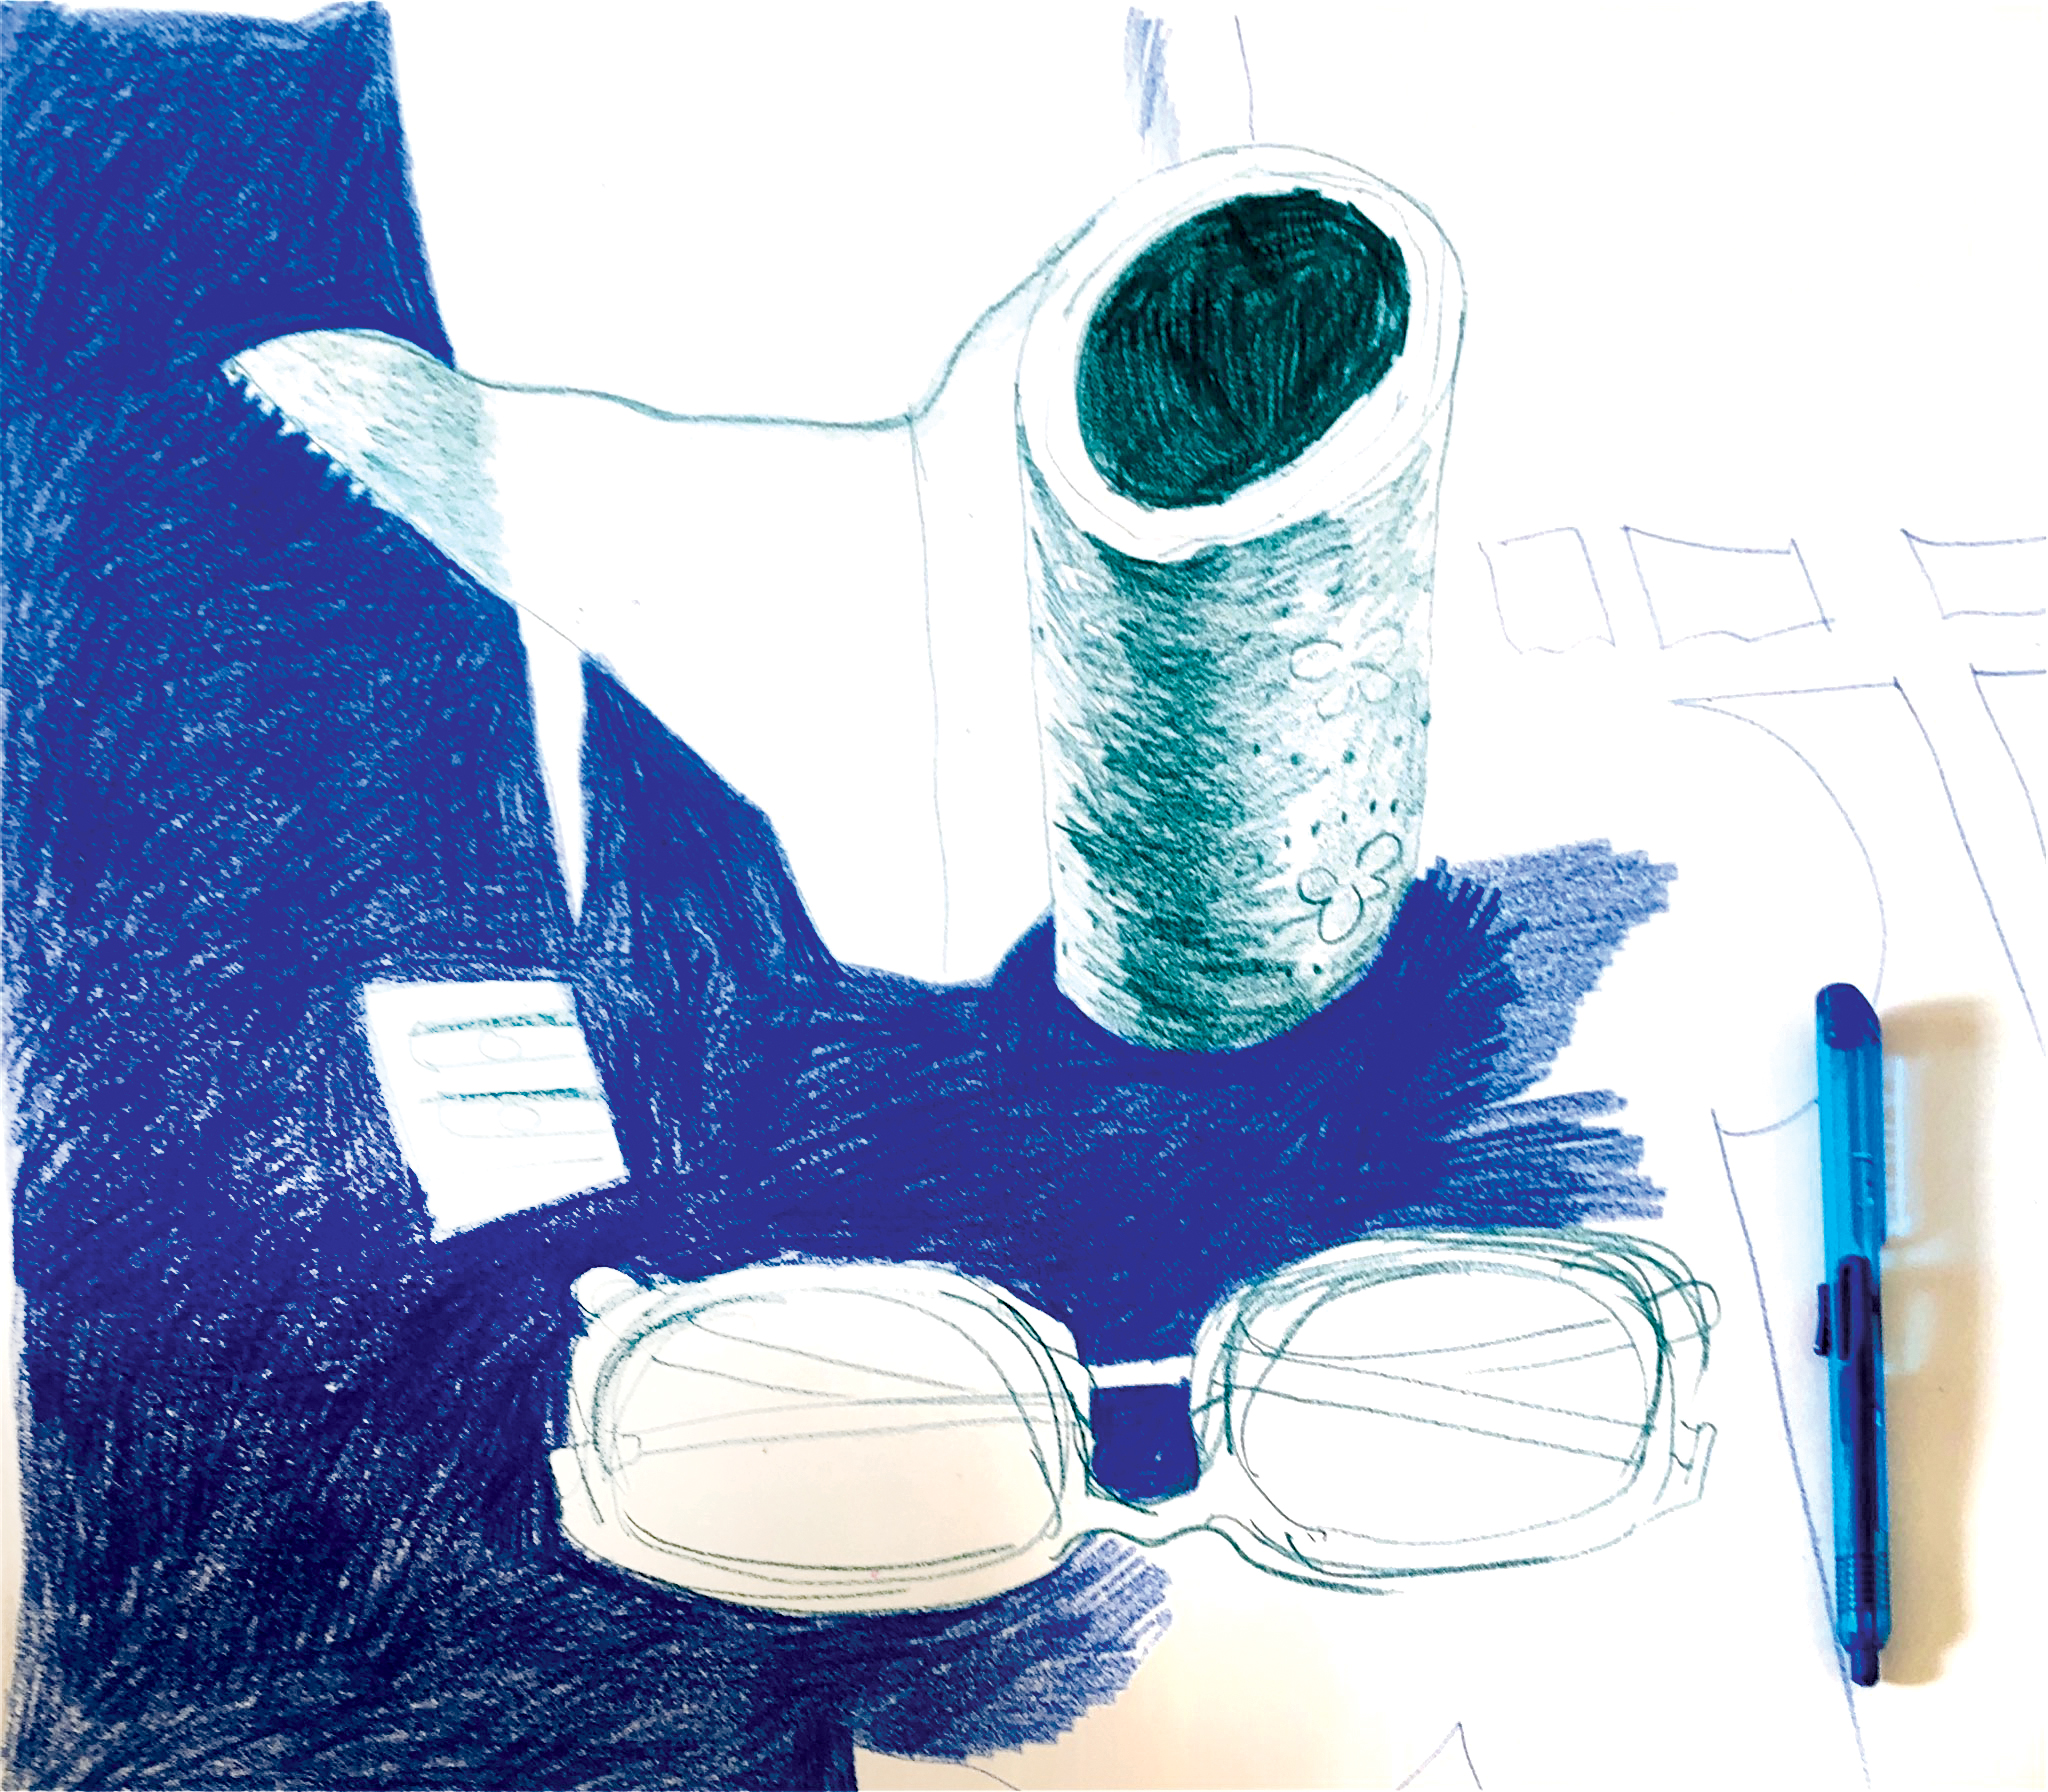
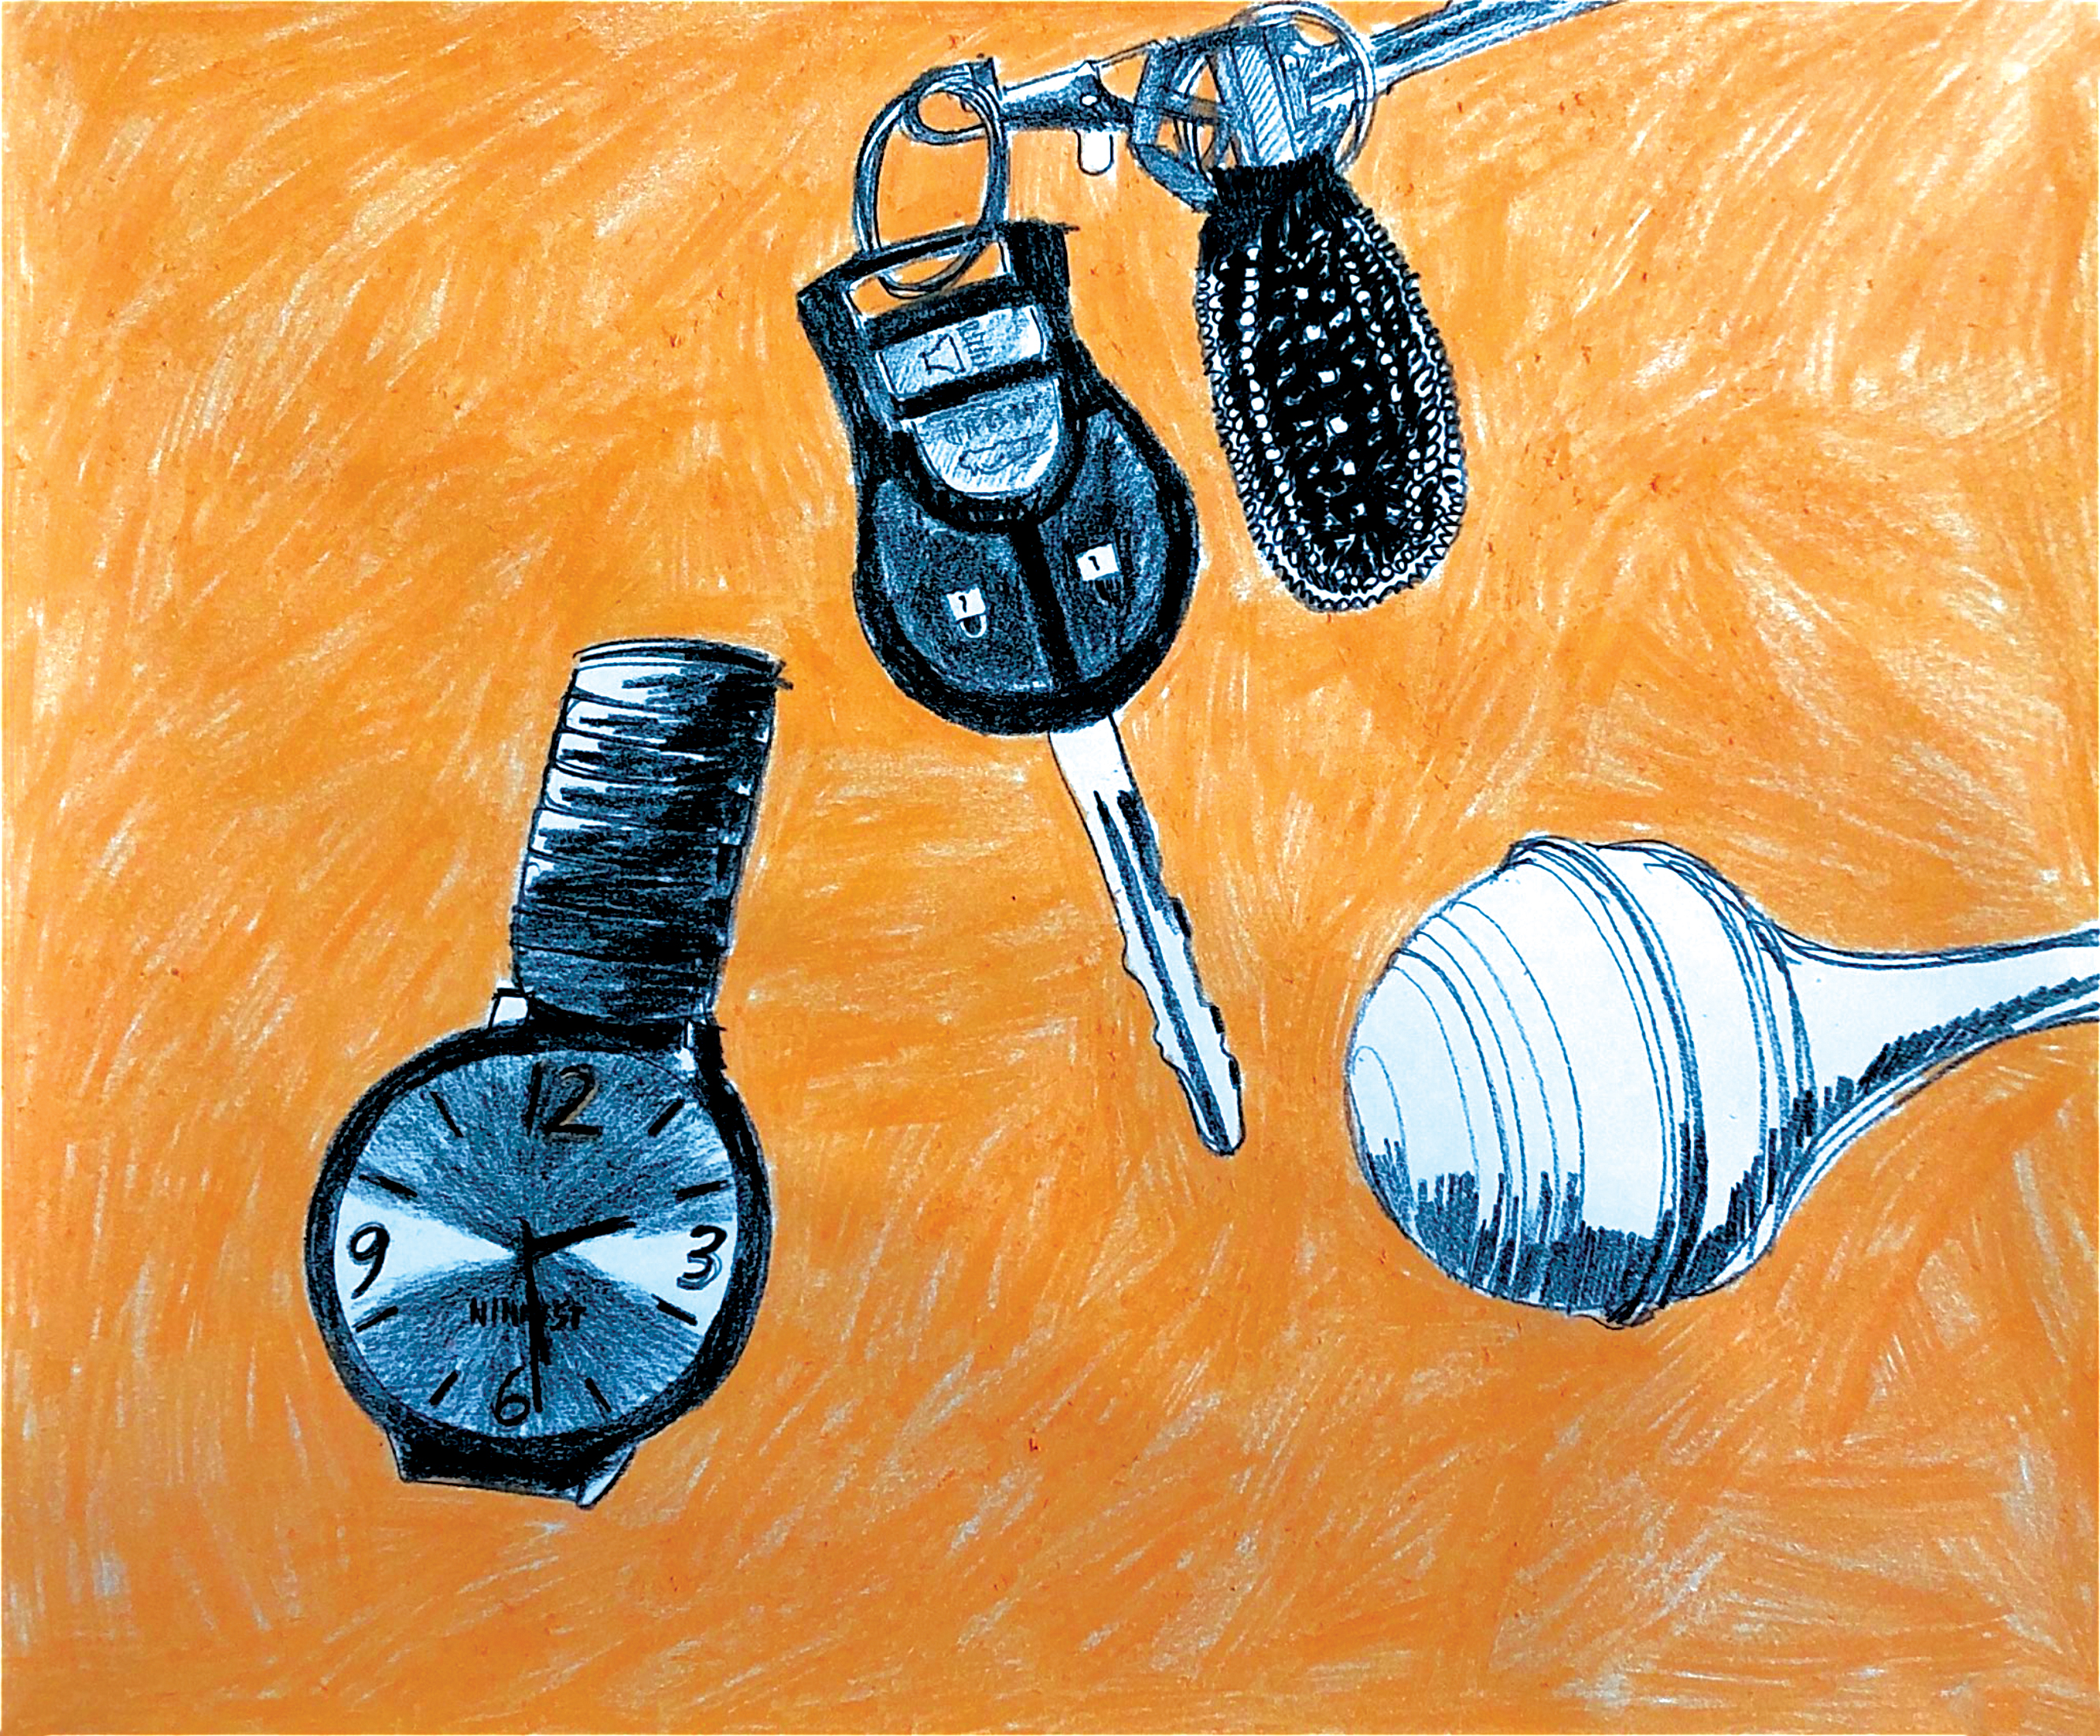
In the image above, a blue and a green crayon have been used to draw the still life. By only choosing two to three colors, you can separate the objects and prevent them from getting lost in the background. I also focused on the shadows being cast on the table. These details will make your composition much more interesting and dynamic!
Make sure you fill in the shadows completely! This is what gives a still life depth!
Step Five: Experiment!
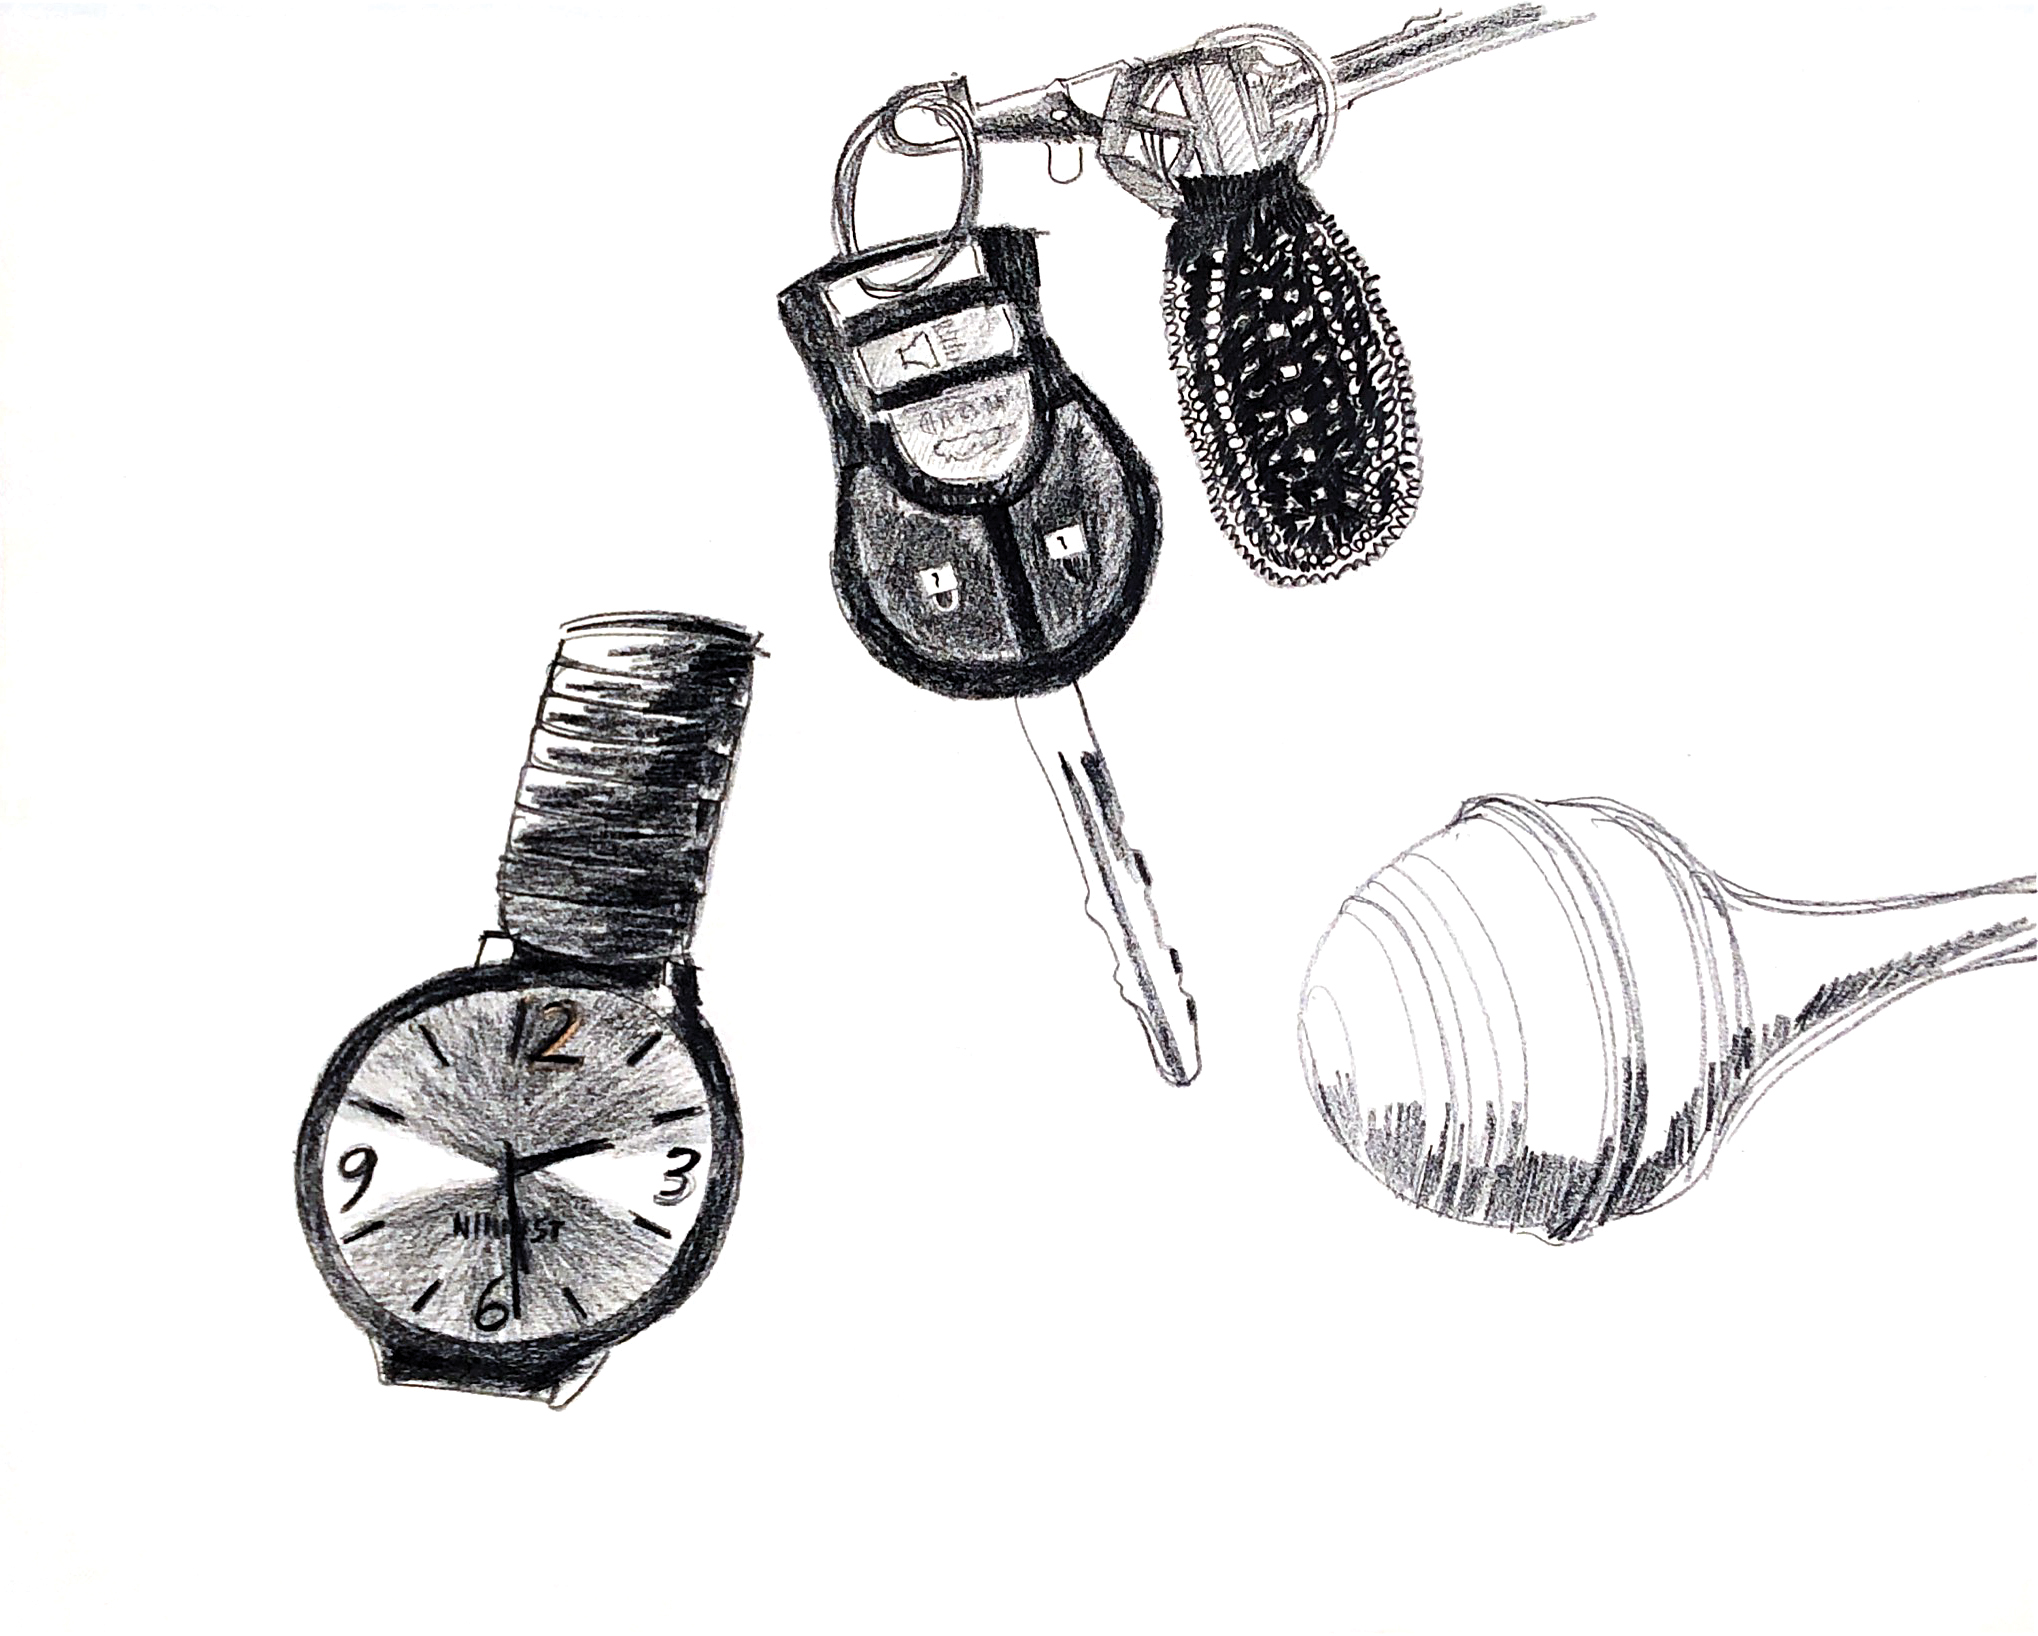
Here’s another arrangement of objects where I decided to take a bird-eye’s view. These objects are great because they have clearly defined shapes and forms. But something is different...no hard-edged shadows! What to do?
Fill in the background entirely with one color! See how different the still life feels? Here I’ve used a tan and a black crayon.
Here are some other examples!
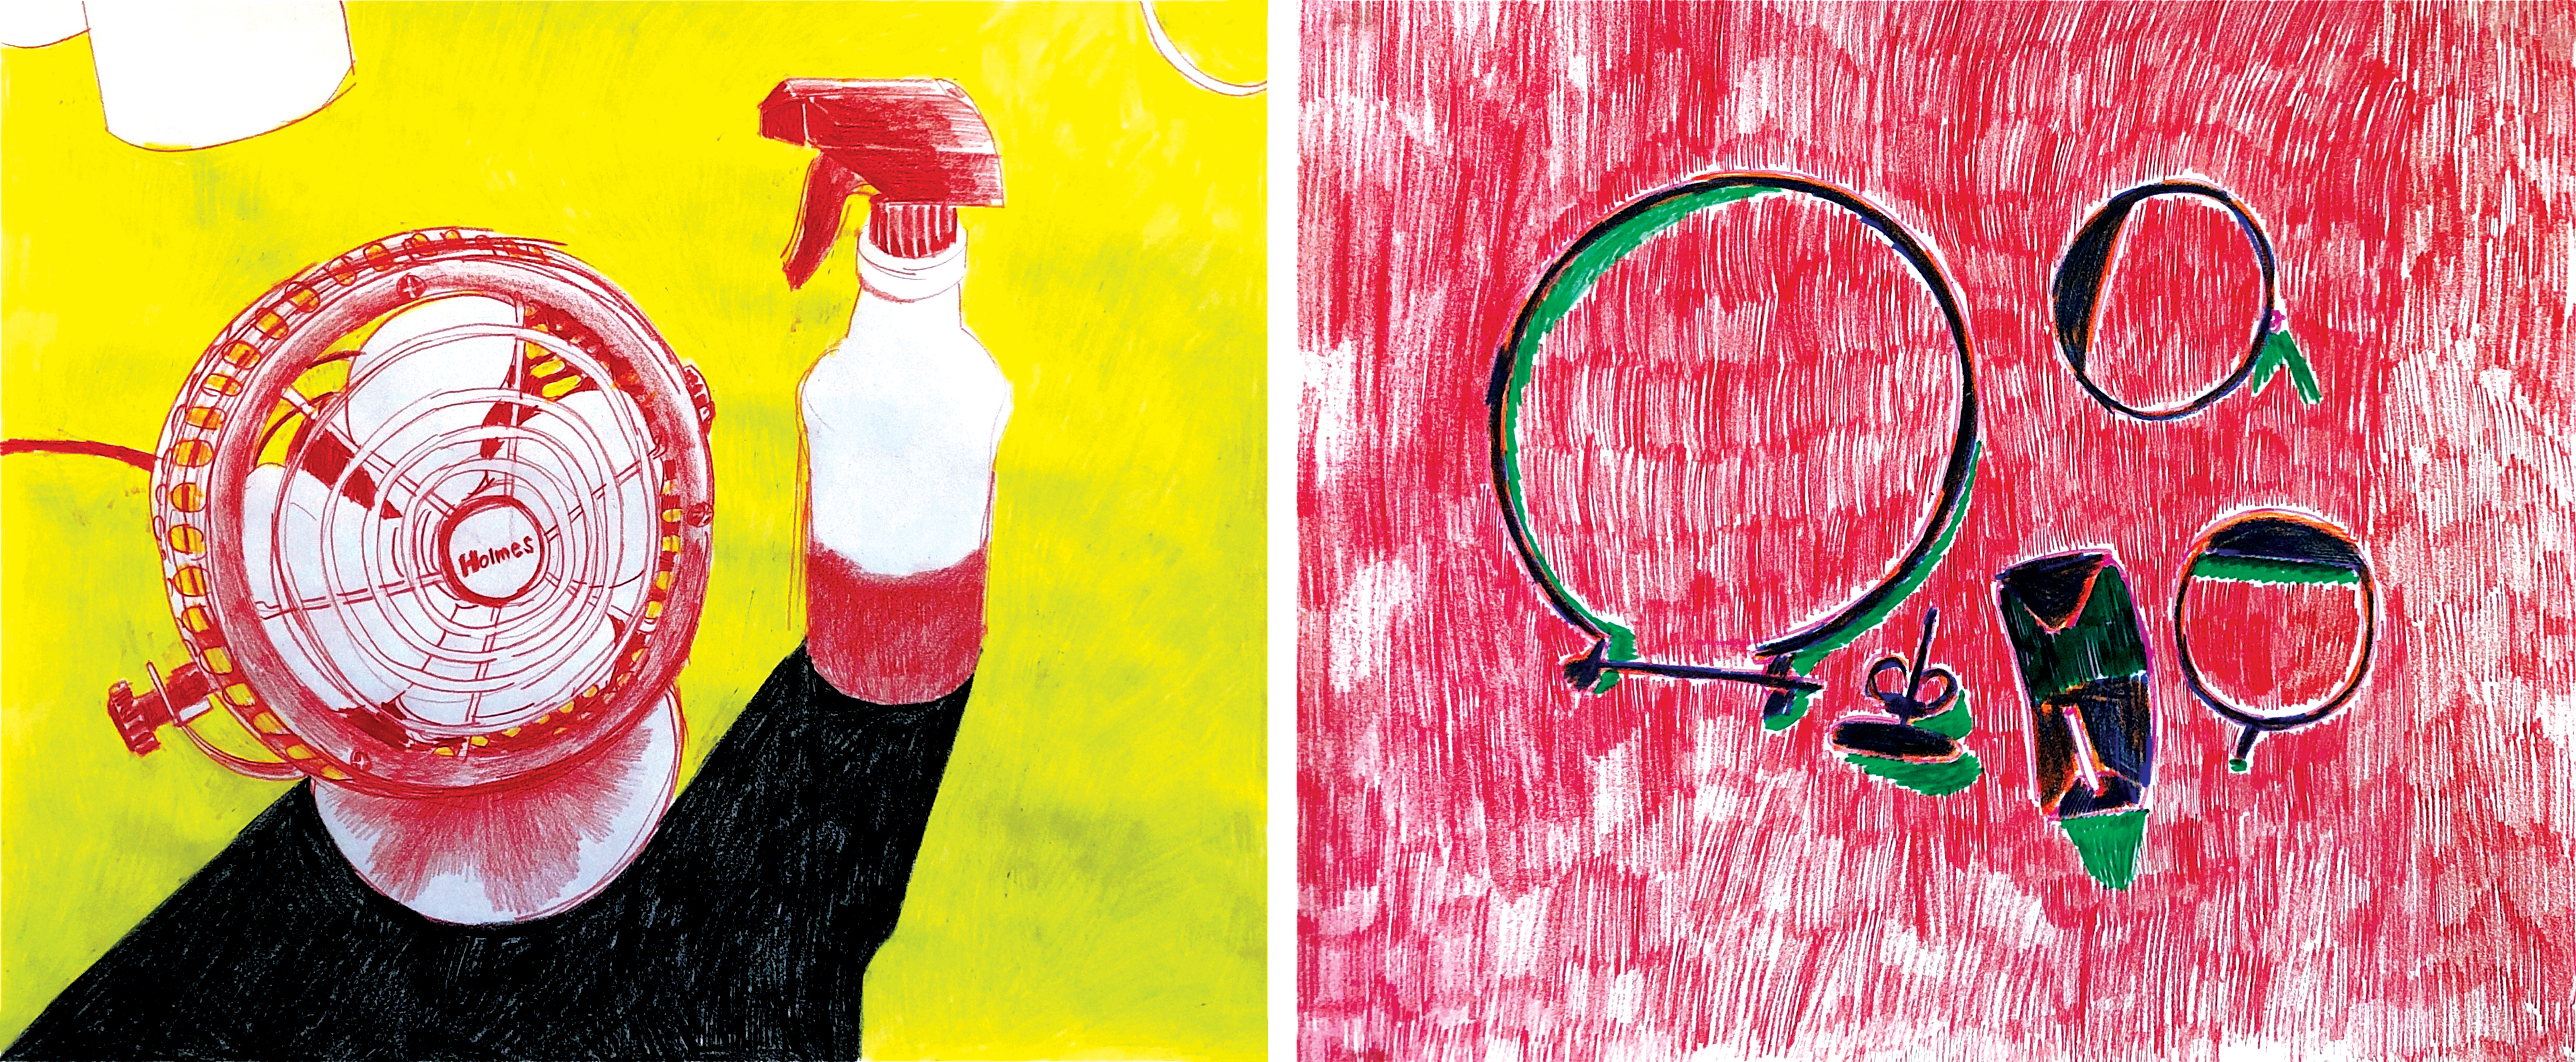
Experiment with your marks (using the side of your pencil, moving your crayon in only one direction, filling in the background using a different material…) use unique pairings of colors to get exciting contrasts, and make sure to fill in everything until you feel like your still life is complete!
We would love to see your artwork! Have an adult post it to social media and tag it @LACMA.


