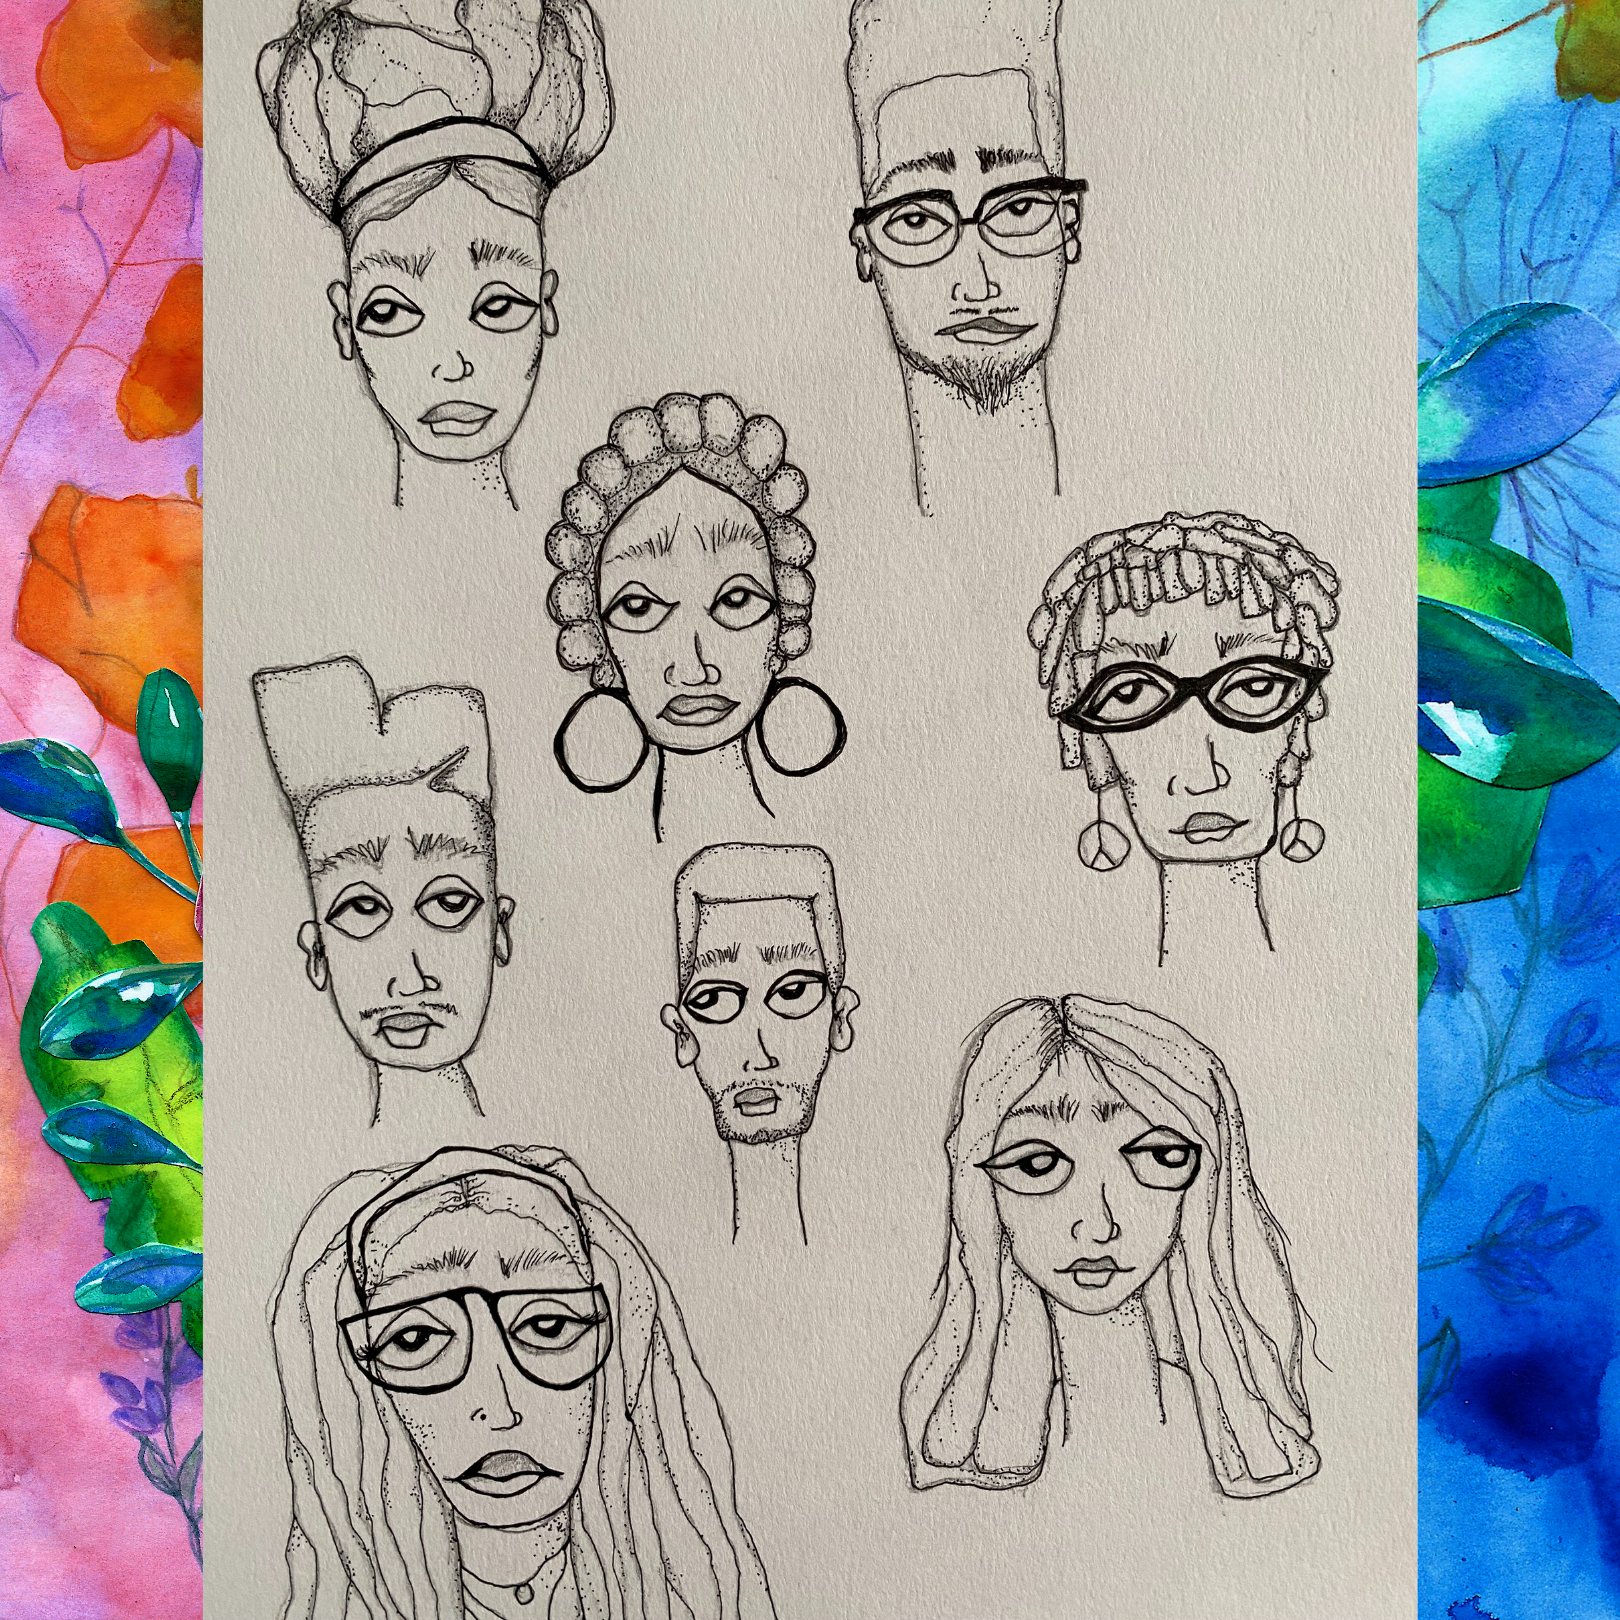
LACMA is one of my favorite places in the galaxy. Even though it’s right here on Earth, it’s where my imagination soars! When I was a kid, I lived near the museum and the bus didn’t cost much to get there. I only needed a few quarters and a promise to be transported to someplace special. Somewhere inside of myself. I looked at art that I didn’t always understand, but this never stopped me from coming back again and again. Even now, when I am looking at a piece of art online or in person, I let go of all of my worries and lose myself within a brushstroke, the line and light of an artist. I love so many kinds of art, but there is something very special about a portrait. Sometimes I can see myself in the expression, in the feeling that I imagine the artist created. Inspired by the incredible Black American Portraits exhibition, I would like to share the magical journey of creating a self-portrait.
But first, I have a confession—I am a poet. Usually, words were enough to paint pictures in my mind, but then along came March 2020. I needed something more: more color, more imagination. Something to calm me, to smooth all of the rough edges inside. So, like so many of us did, I found a few tutorials online to try something new. A face. I wondered if I could learn how to draw a face. And to my surprise, I did! Just a few lines and curves, a swirl here and there. It was amazing.
Then the colors came. Blue, purple, green. I love using these colors more than realistic ones: they are so much more fun. And even though the faces I drew looked like they came from another planet, they weren’t—they were me! If I was happy or sad, I could see those feelings on the faces, bright as a nebula. I guess that every portrait I paint—no matter the color—is a mirror. Just like the faces in Black American Portraits. I am looking at people I have never met, but through their expressions, I feel as if I am looking at myself too. Won’t you join me?
A Portrait in Ten Easy Steps
Step 1
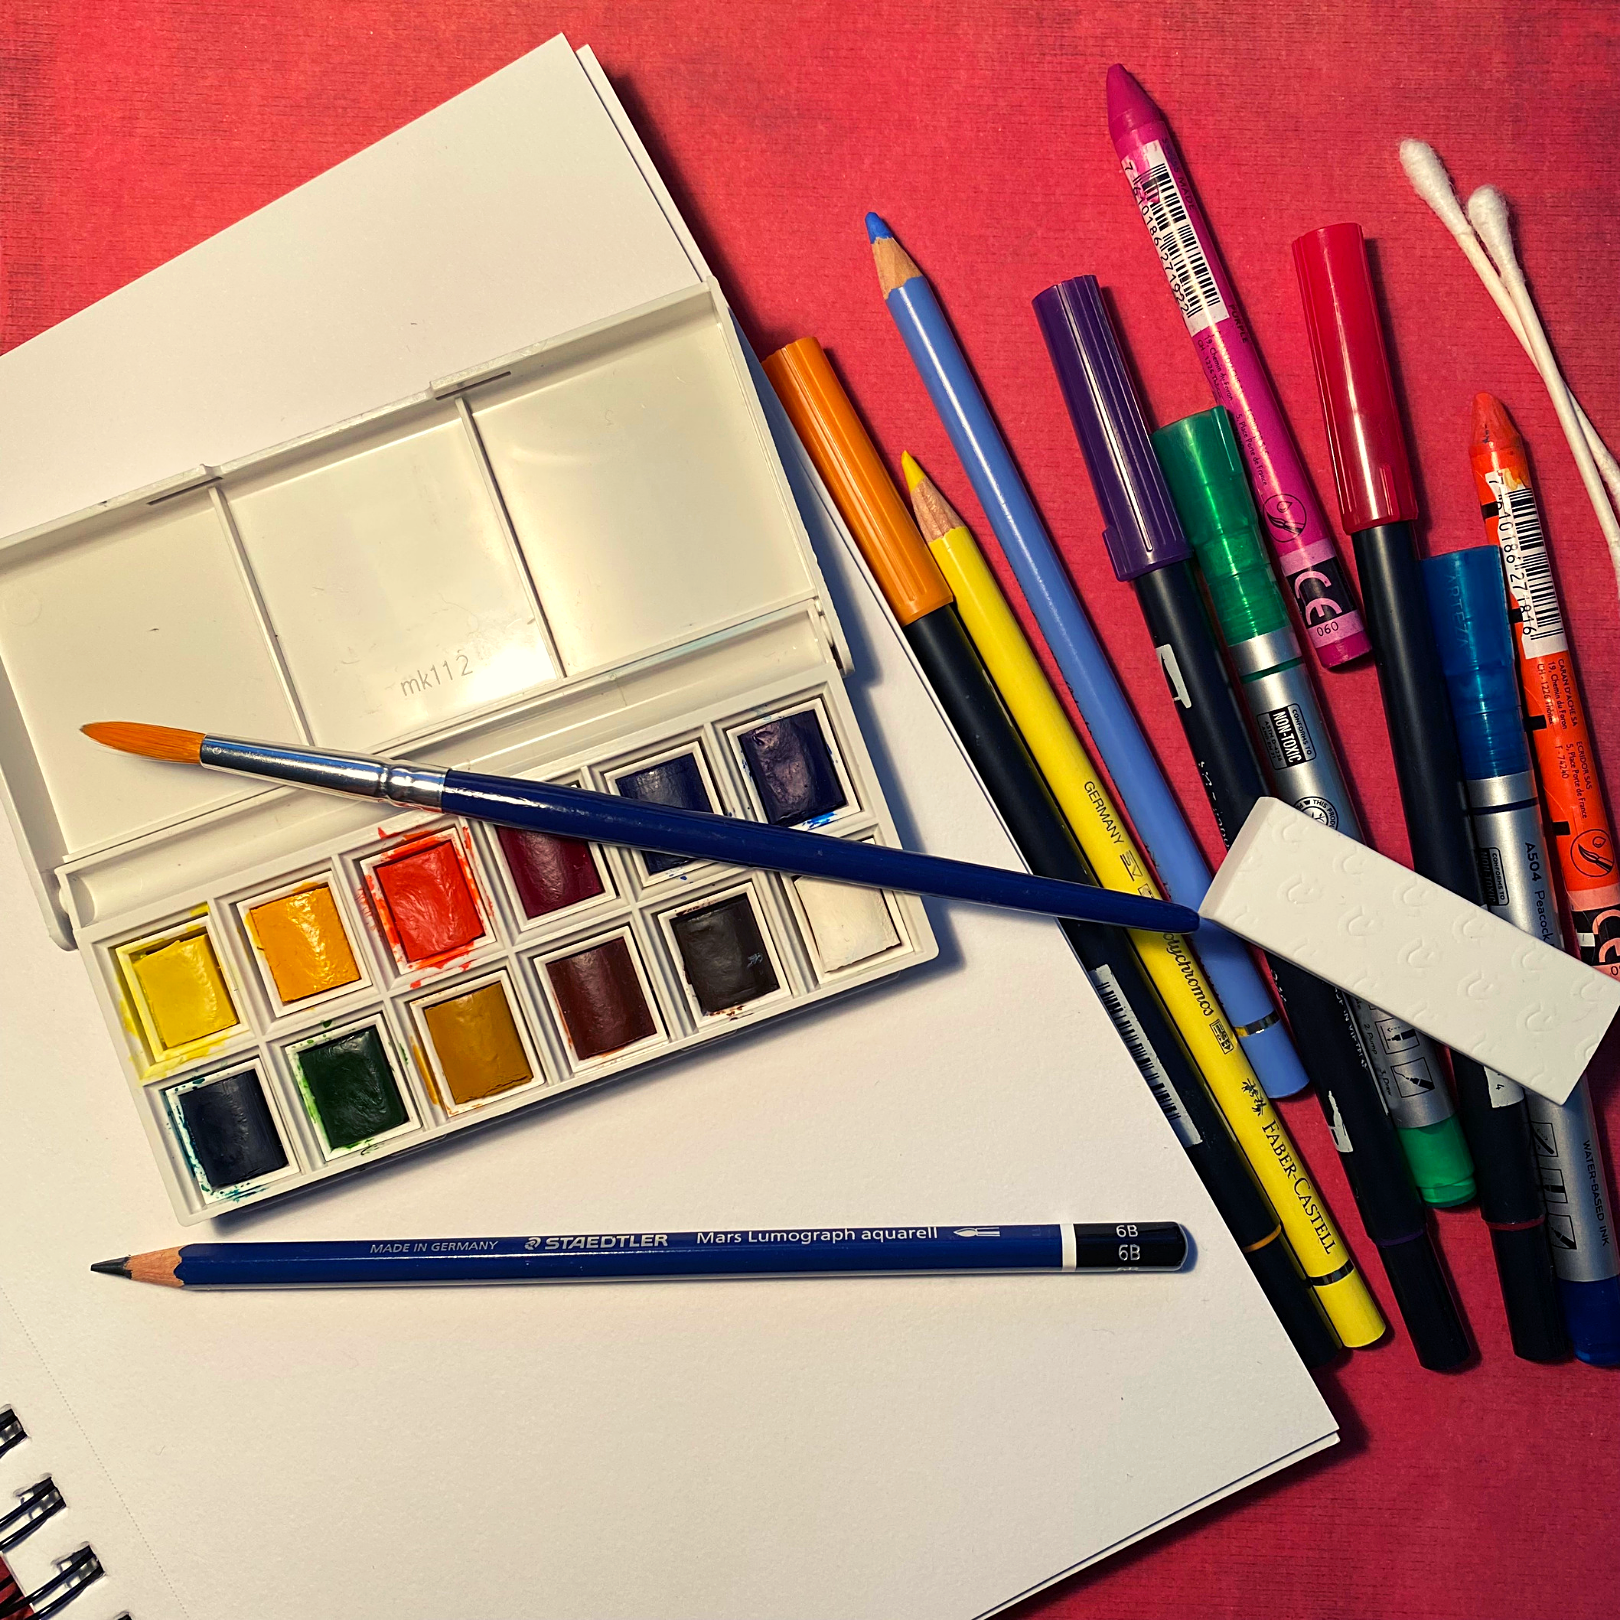
Gather your supplies. Simple stuff—chances are, you have everything that you need already.
- Paper
- Pencil
- Eraser
- Optional: a few cotton swabs to add shadows and to soften lines
- Optional: watercolor or mixed media paper (basically, thick white paper)
- Optional: watercolors, markers, or crayons (if you would like to add color)
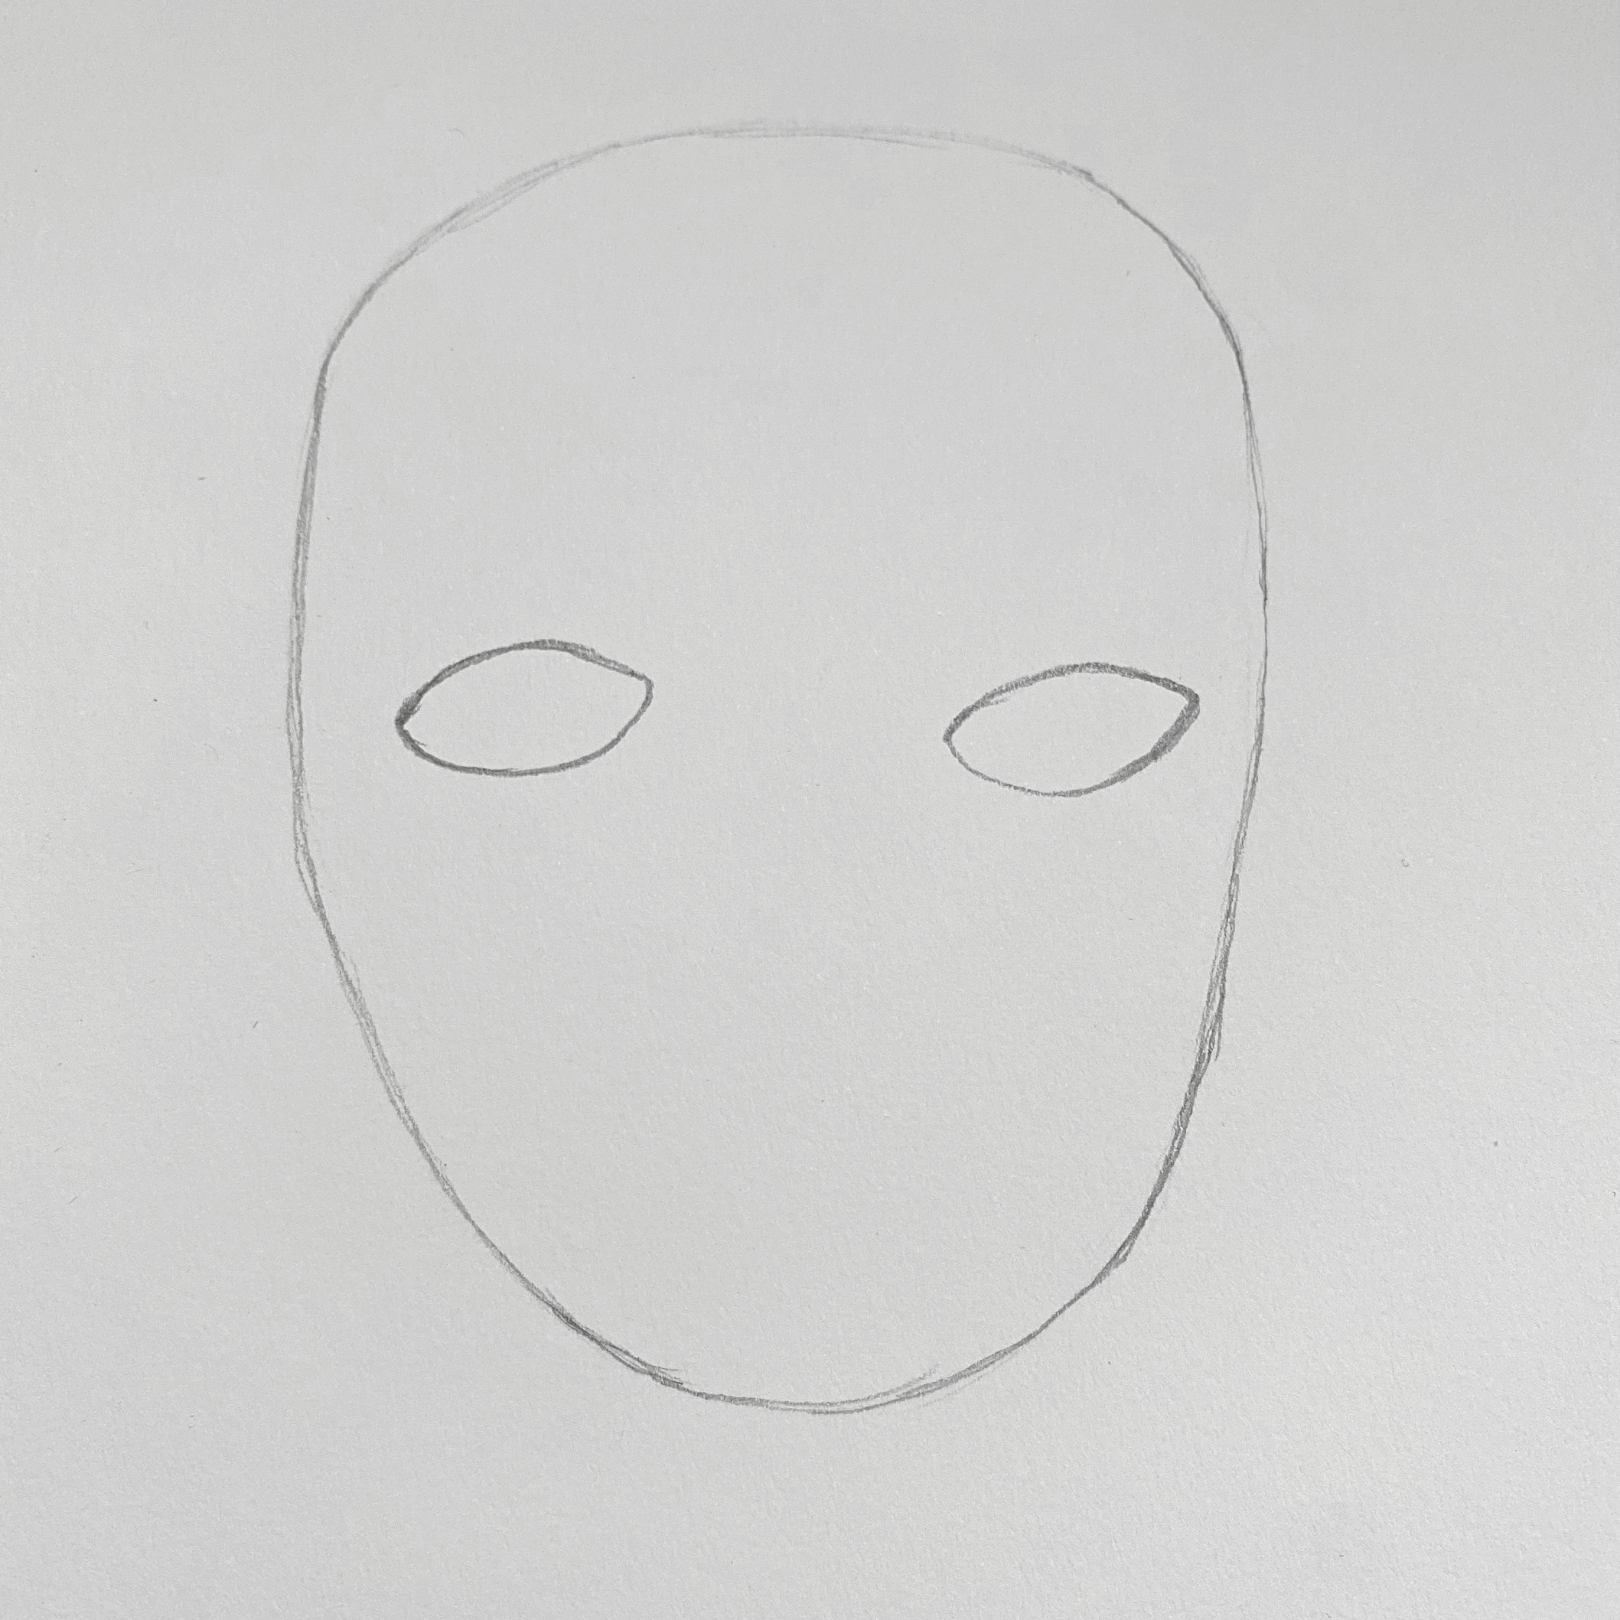
Step 2: Head
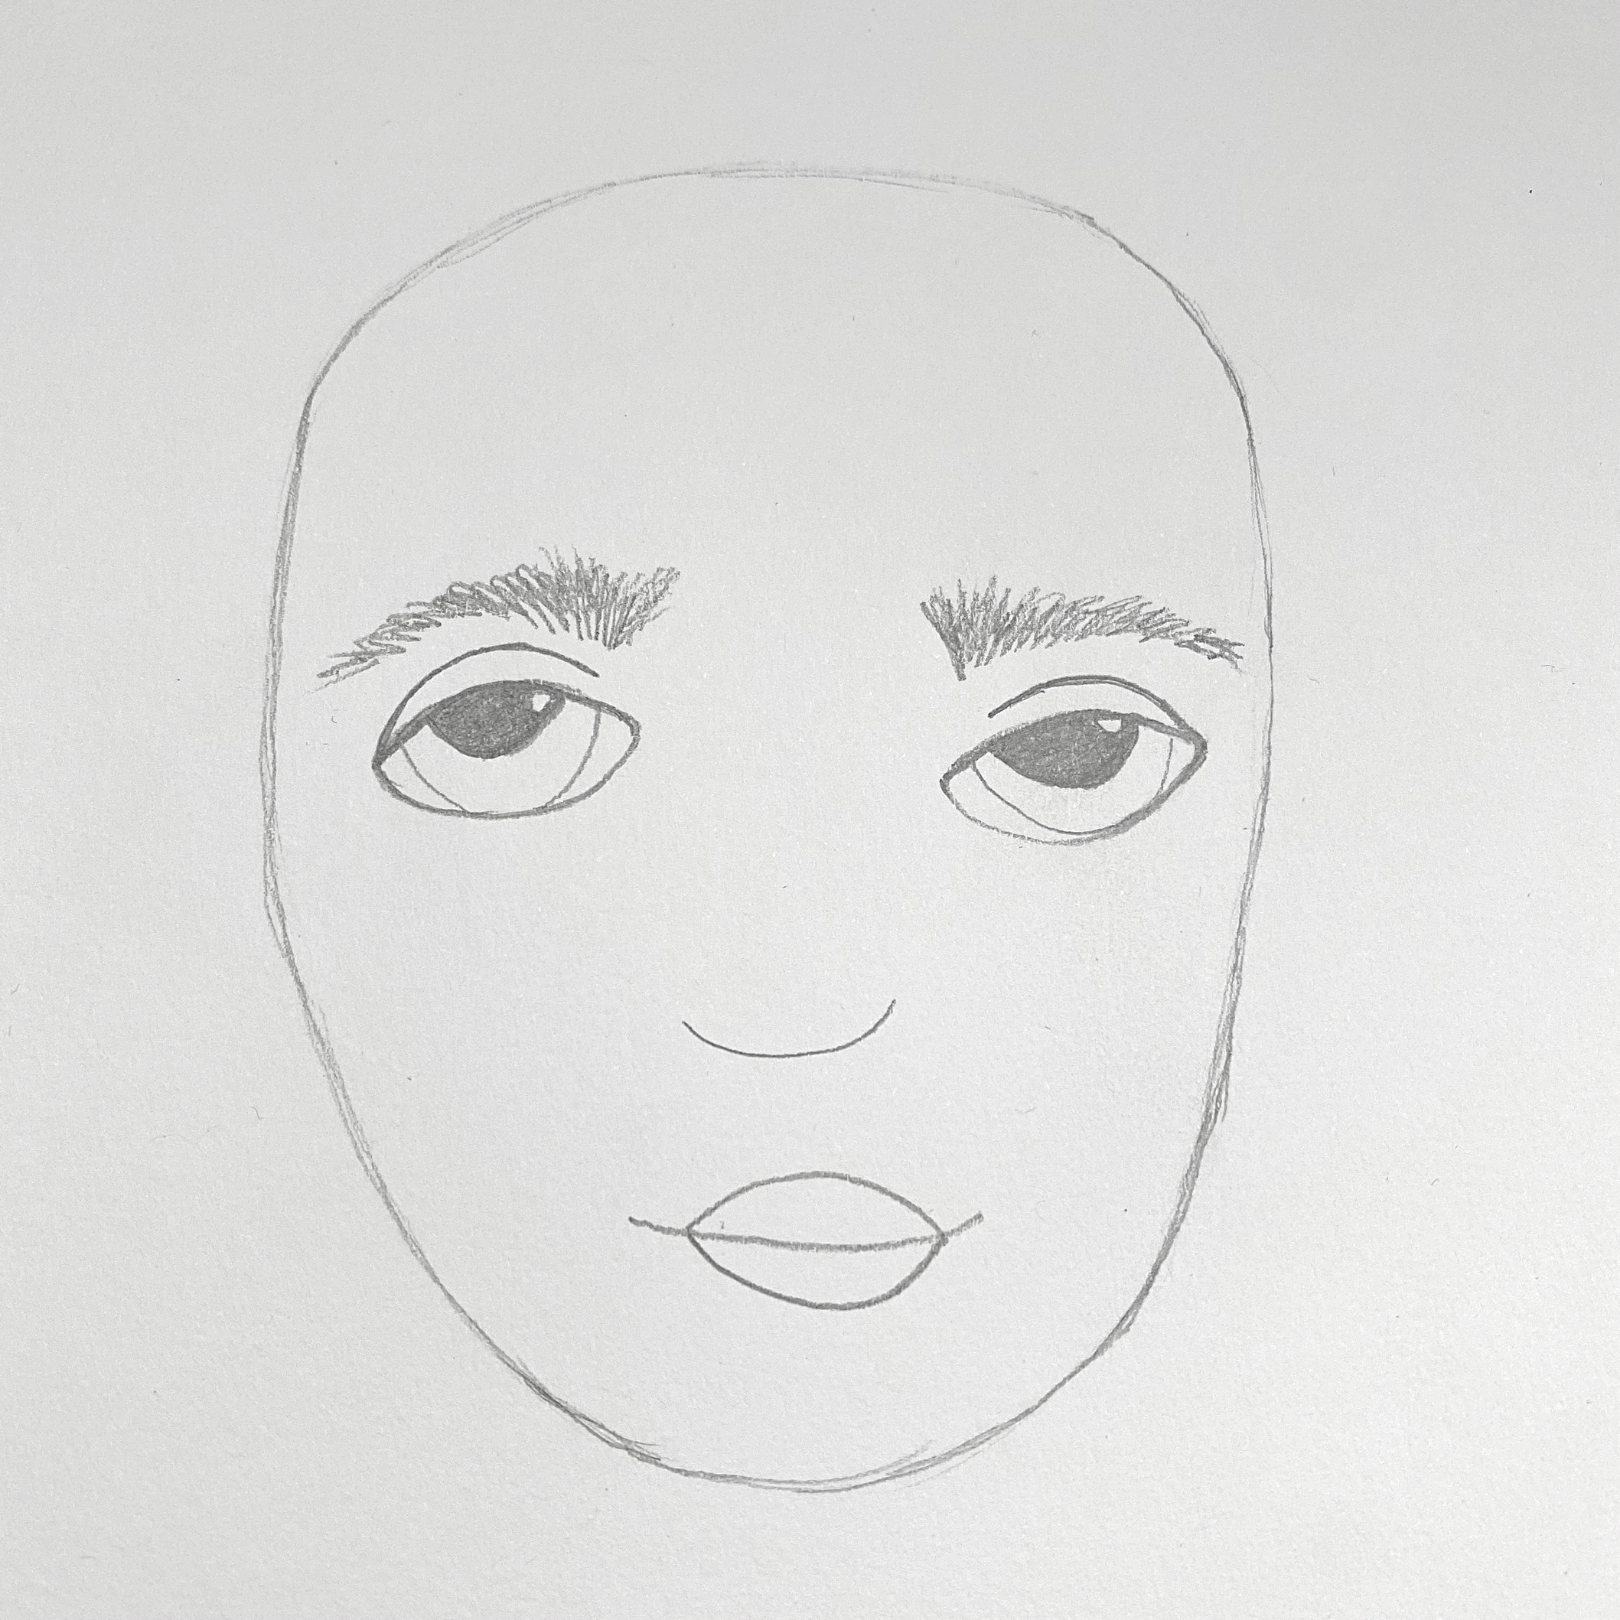
Draw an oval: flatter on the sides, pointier at the bottom. Don’t worry about making it perfect—the more imperfect it is, the more personality it will have!
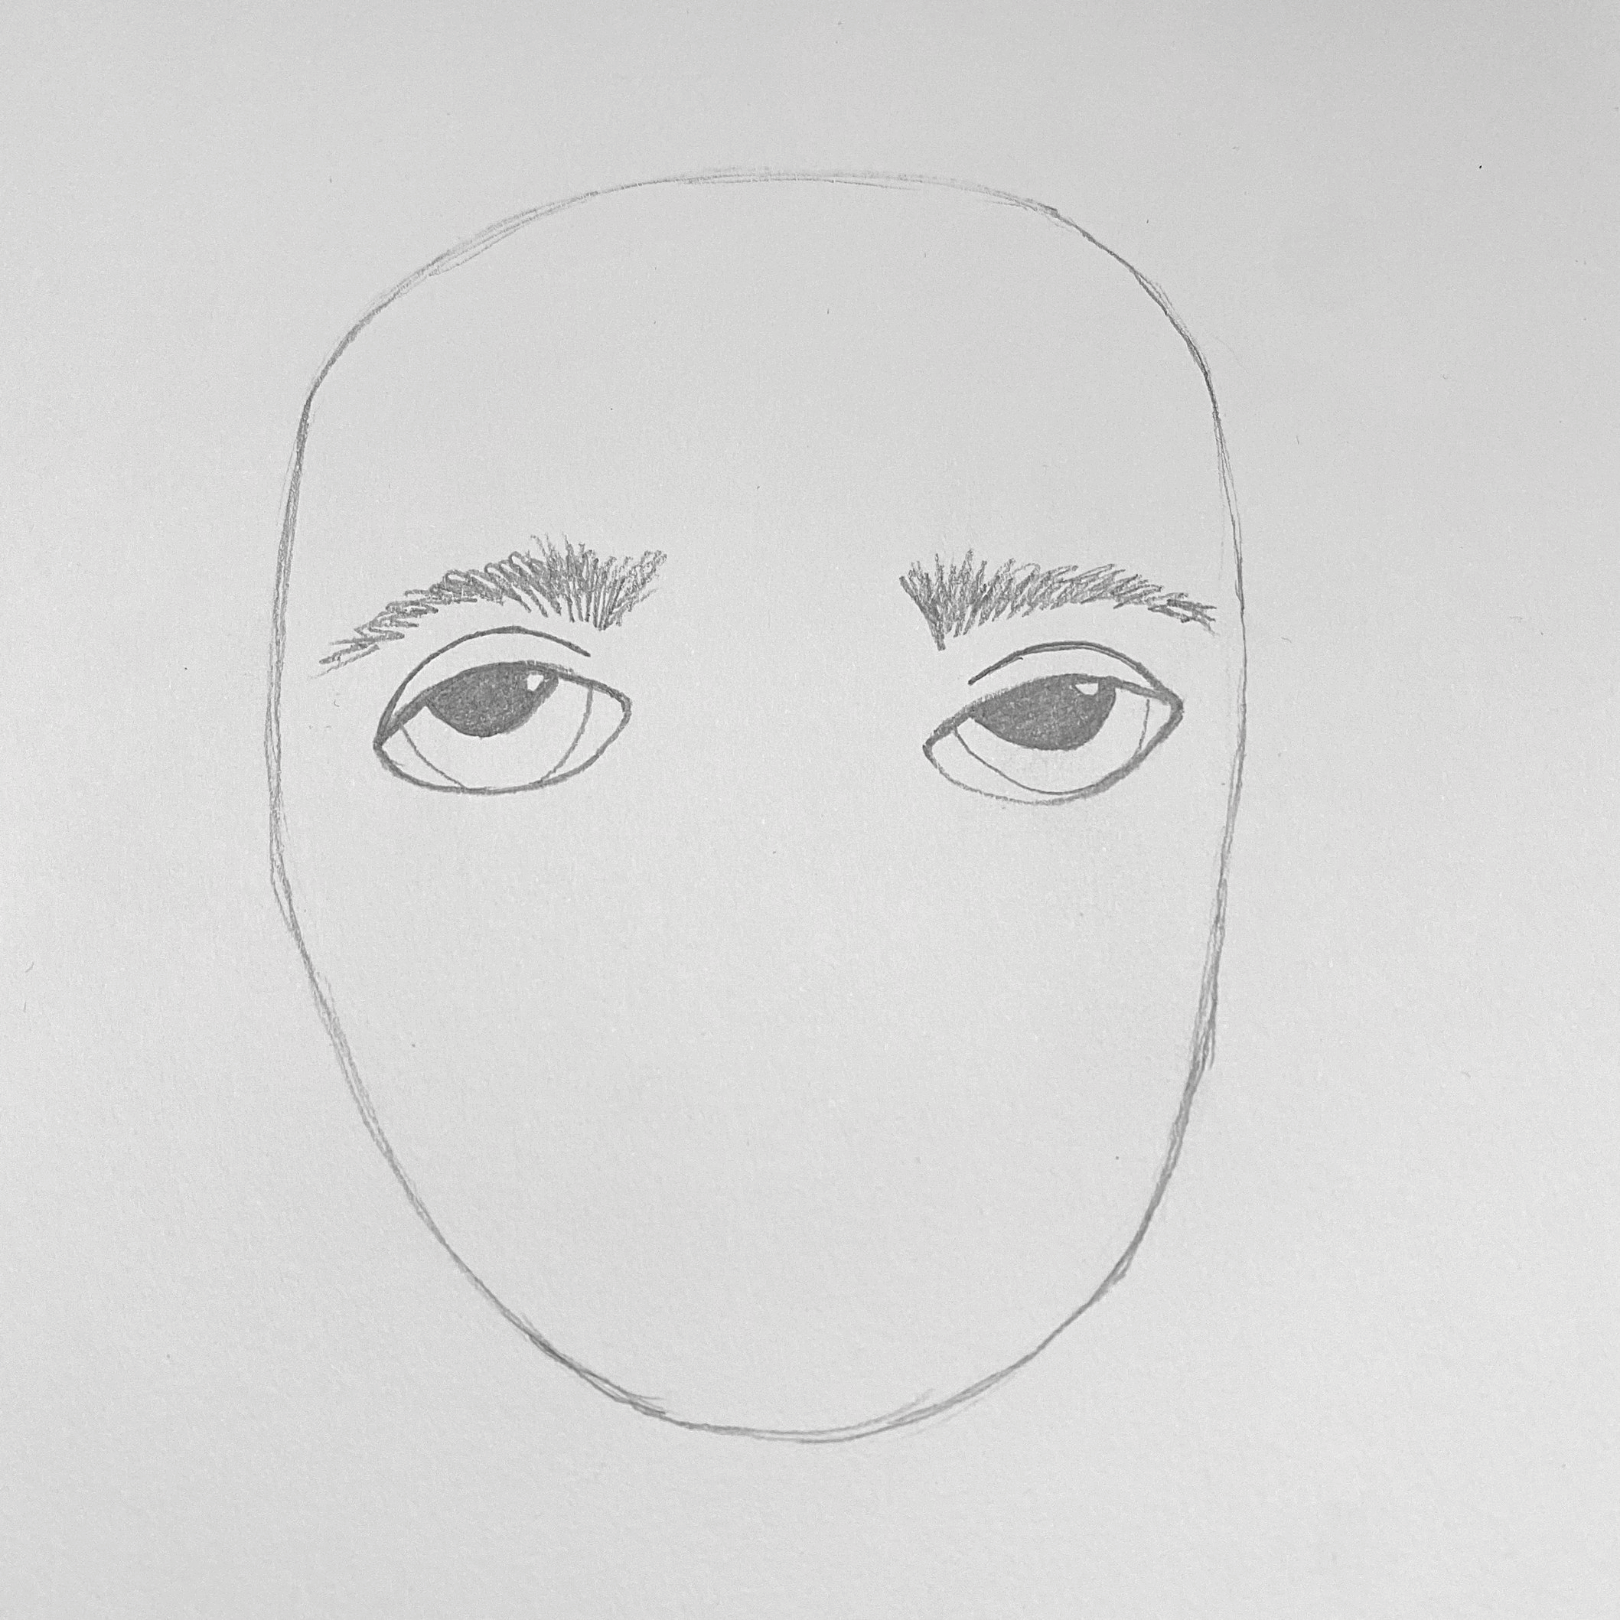
Step 3: Eyes
In the middle, draw two ovals. Add curved lines on top (these will be eyelids). Then draw half-circles and darken them for the pupils. Add half-circles for the balls of the eyes.
Step 4: Eyebrows
Add eyebrows. No big deal—just a few scribbles will do.
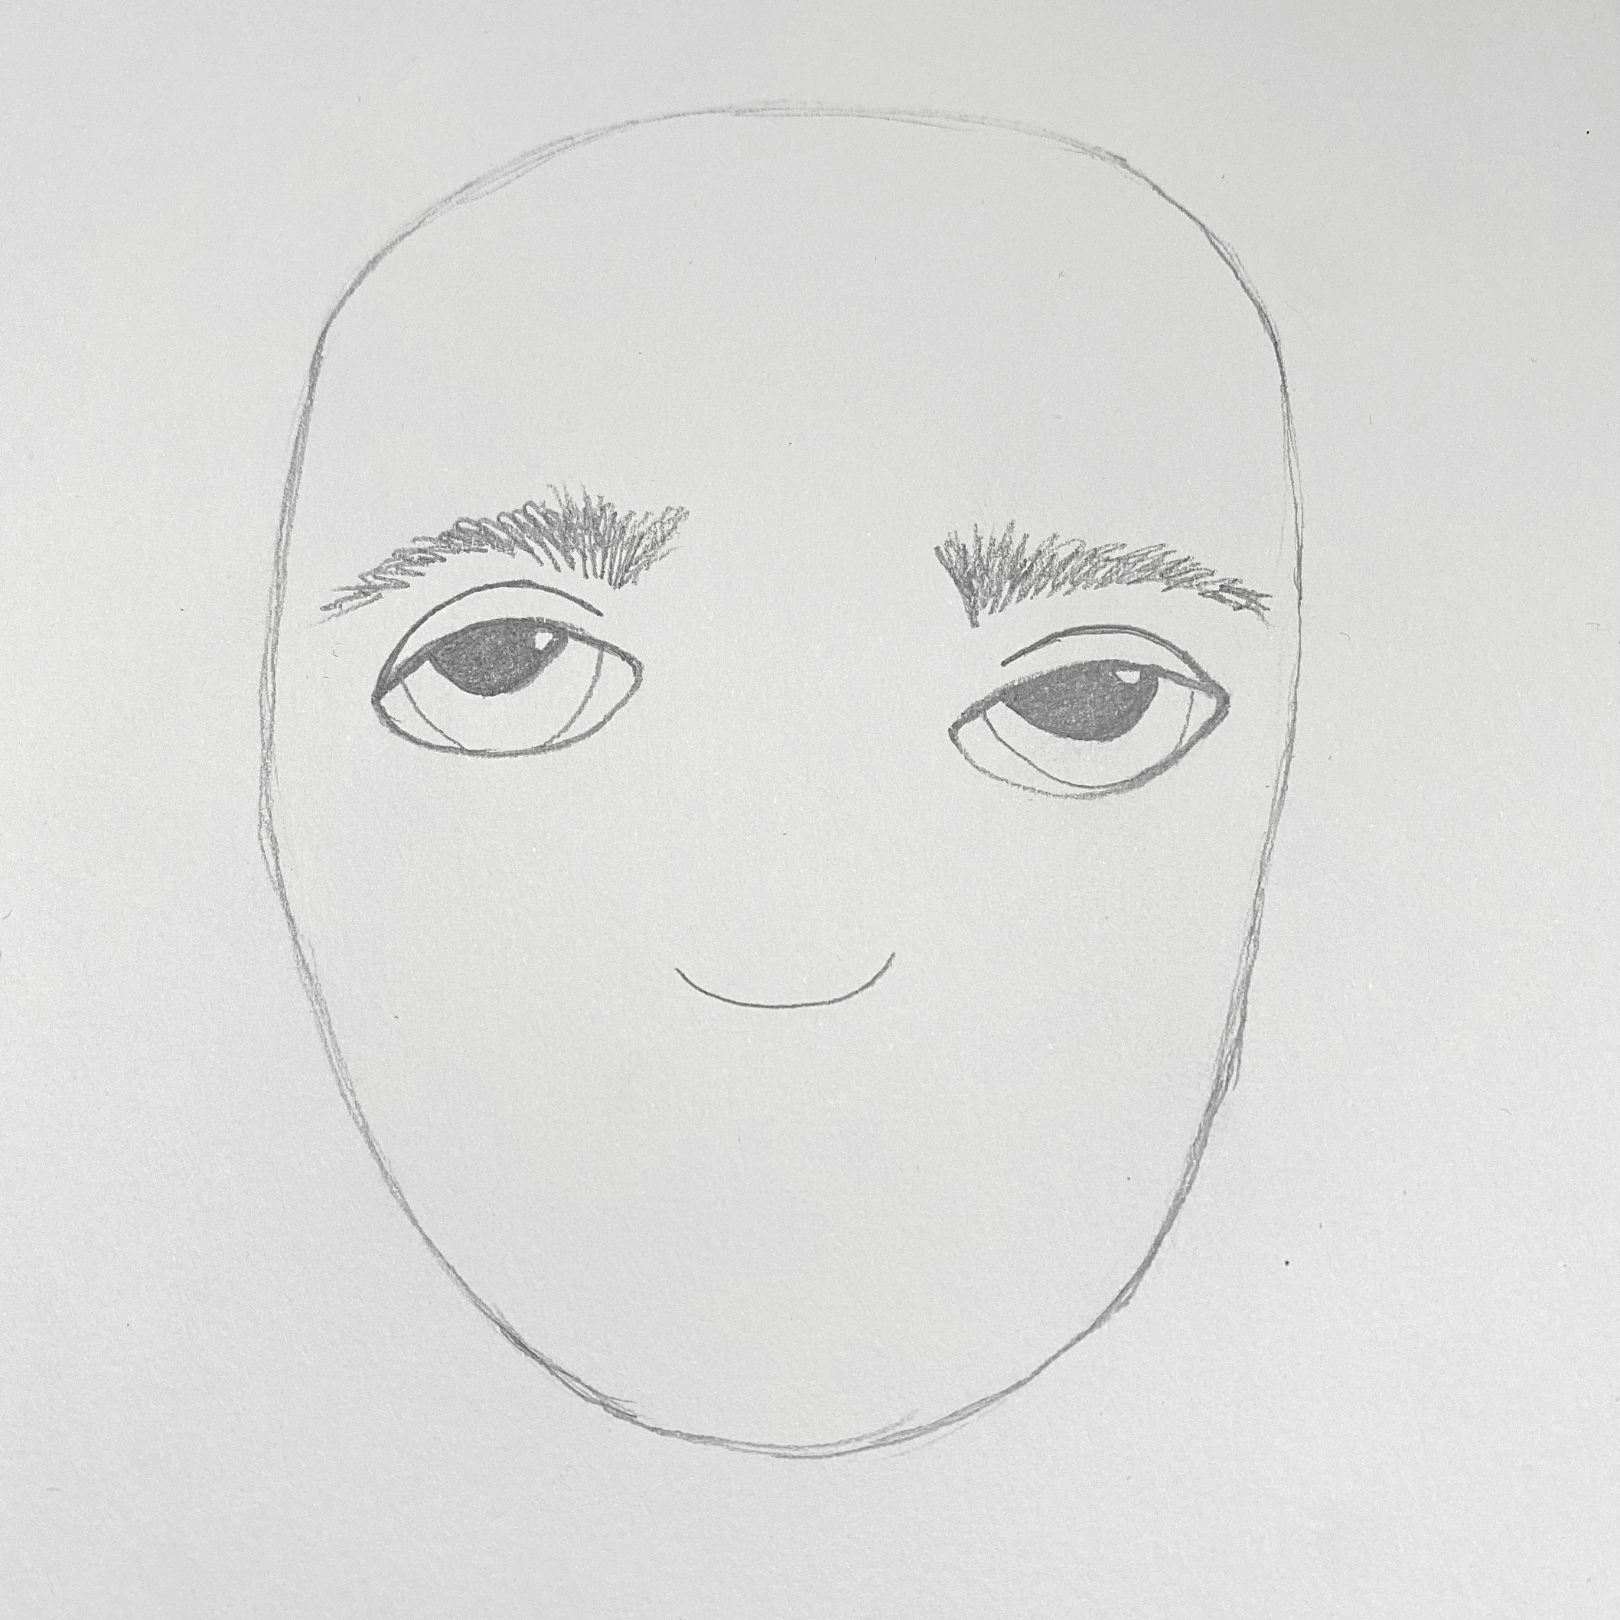
Step 5: Nose
Midway between the eyes and the chin, draw a half-circle. This will be the nose.
Step 6: Mouth
Midway between the nose and the chin, draw a line. On top of the line, draw a half-circle. Now, below the line, draw another half-circle.
Step 7: Neck
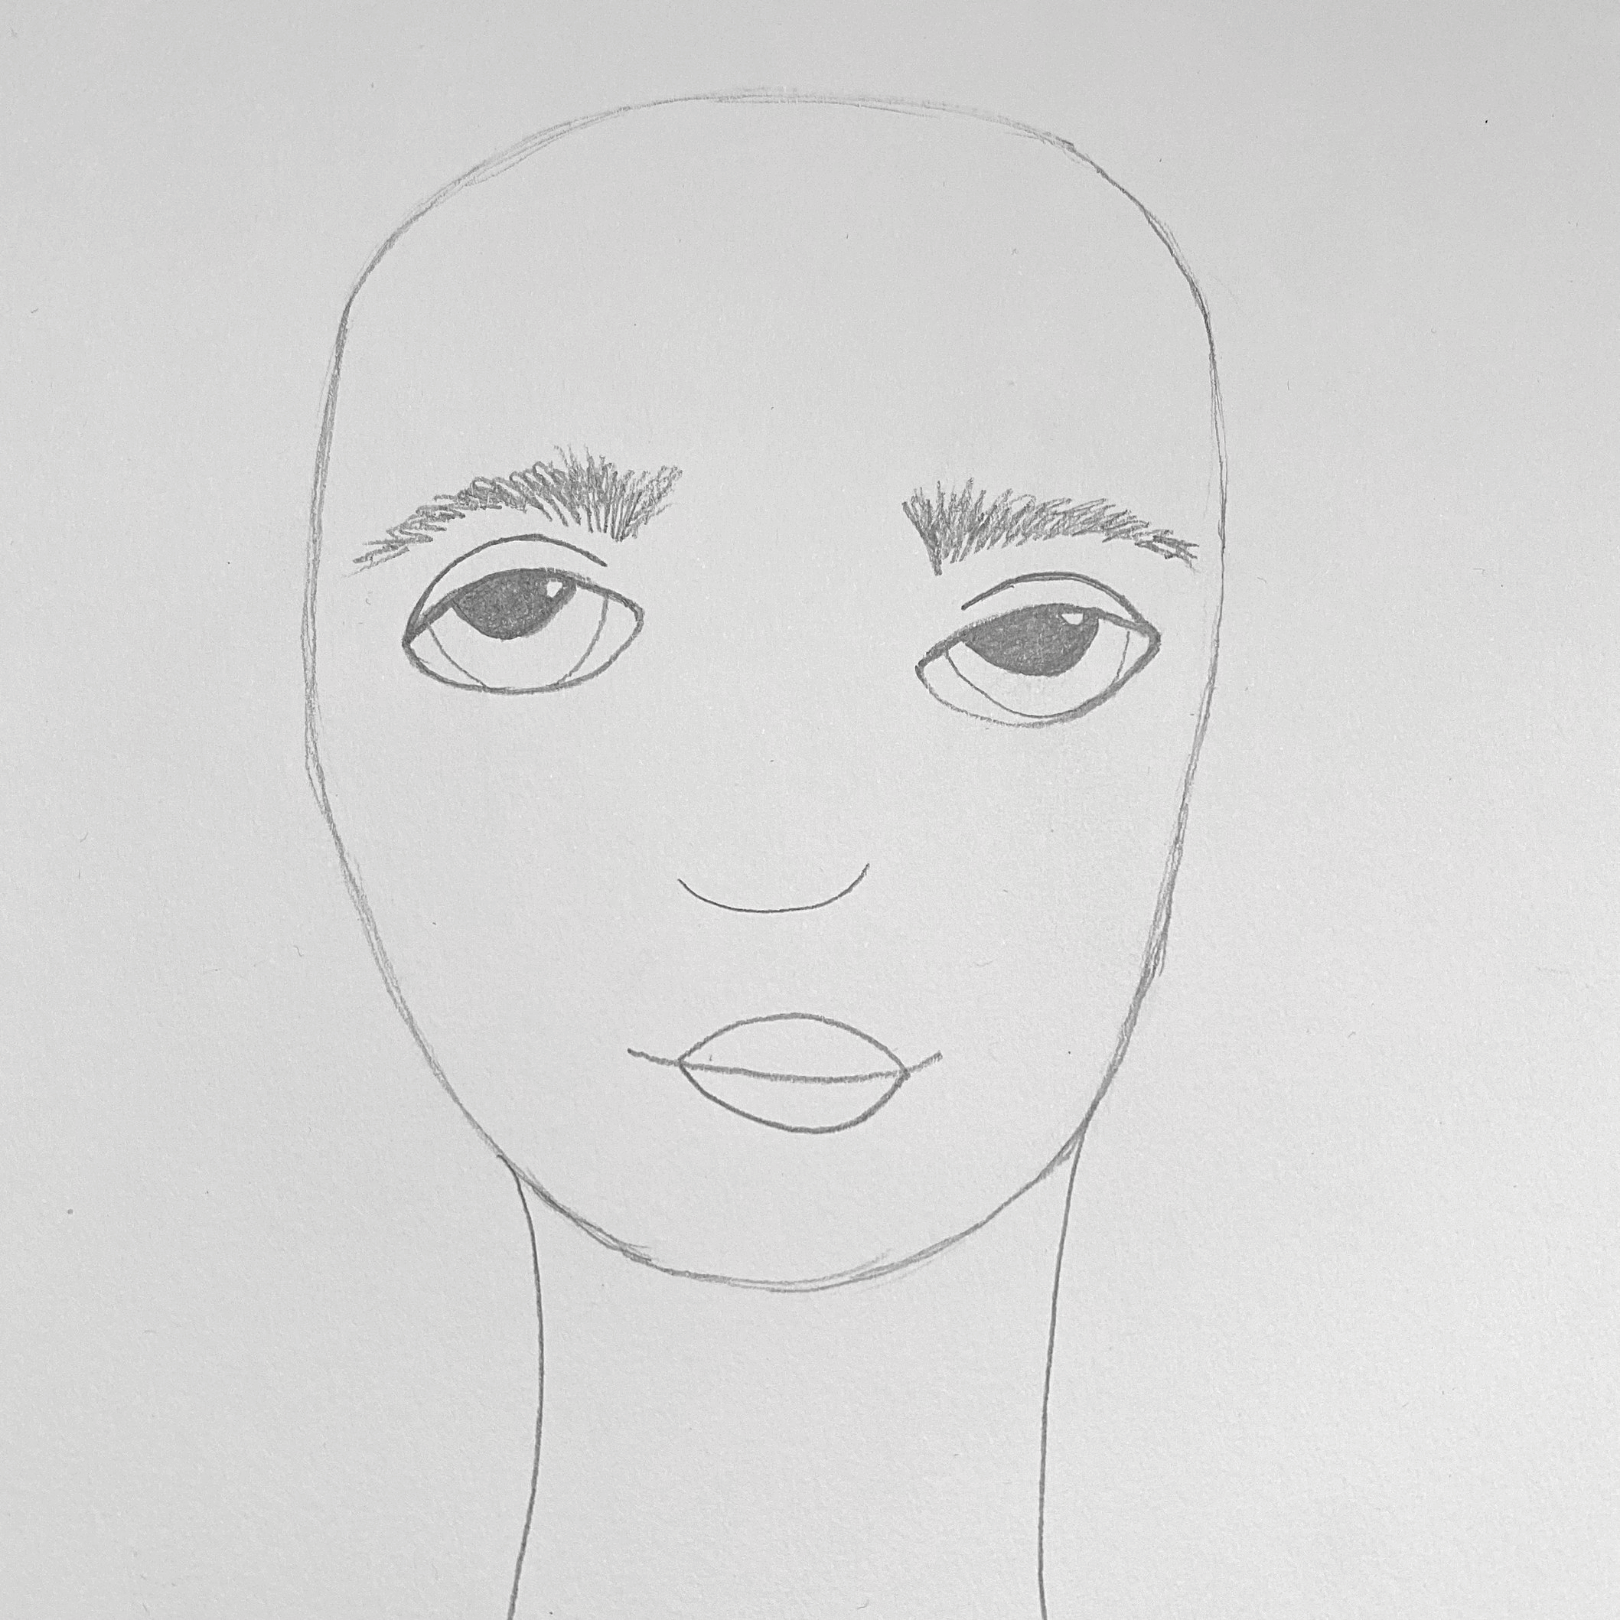
Draw to curved lines to create a neck
Step 8: Smudge and Spice
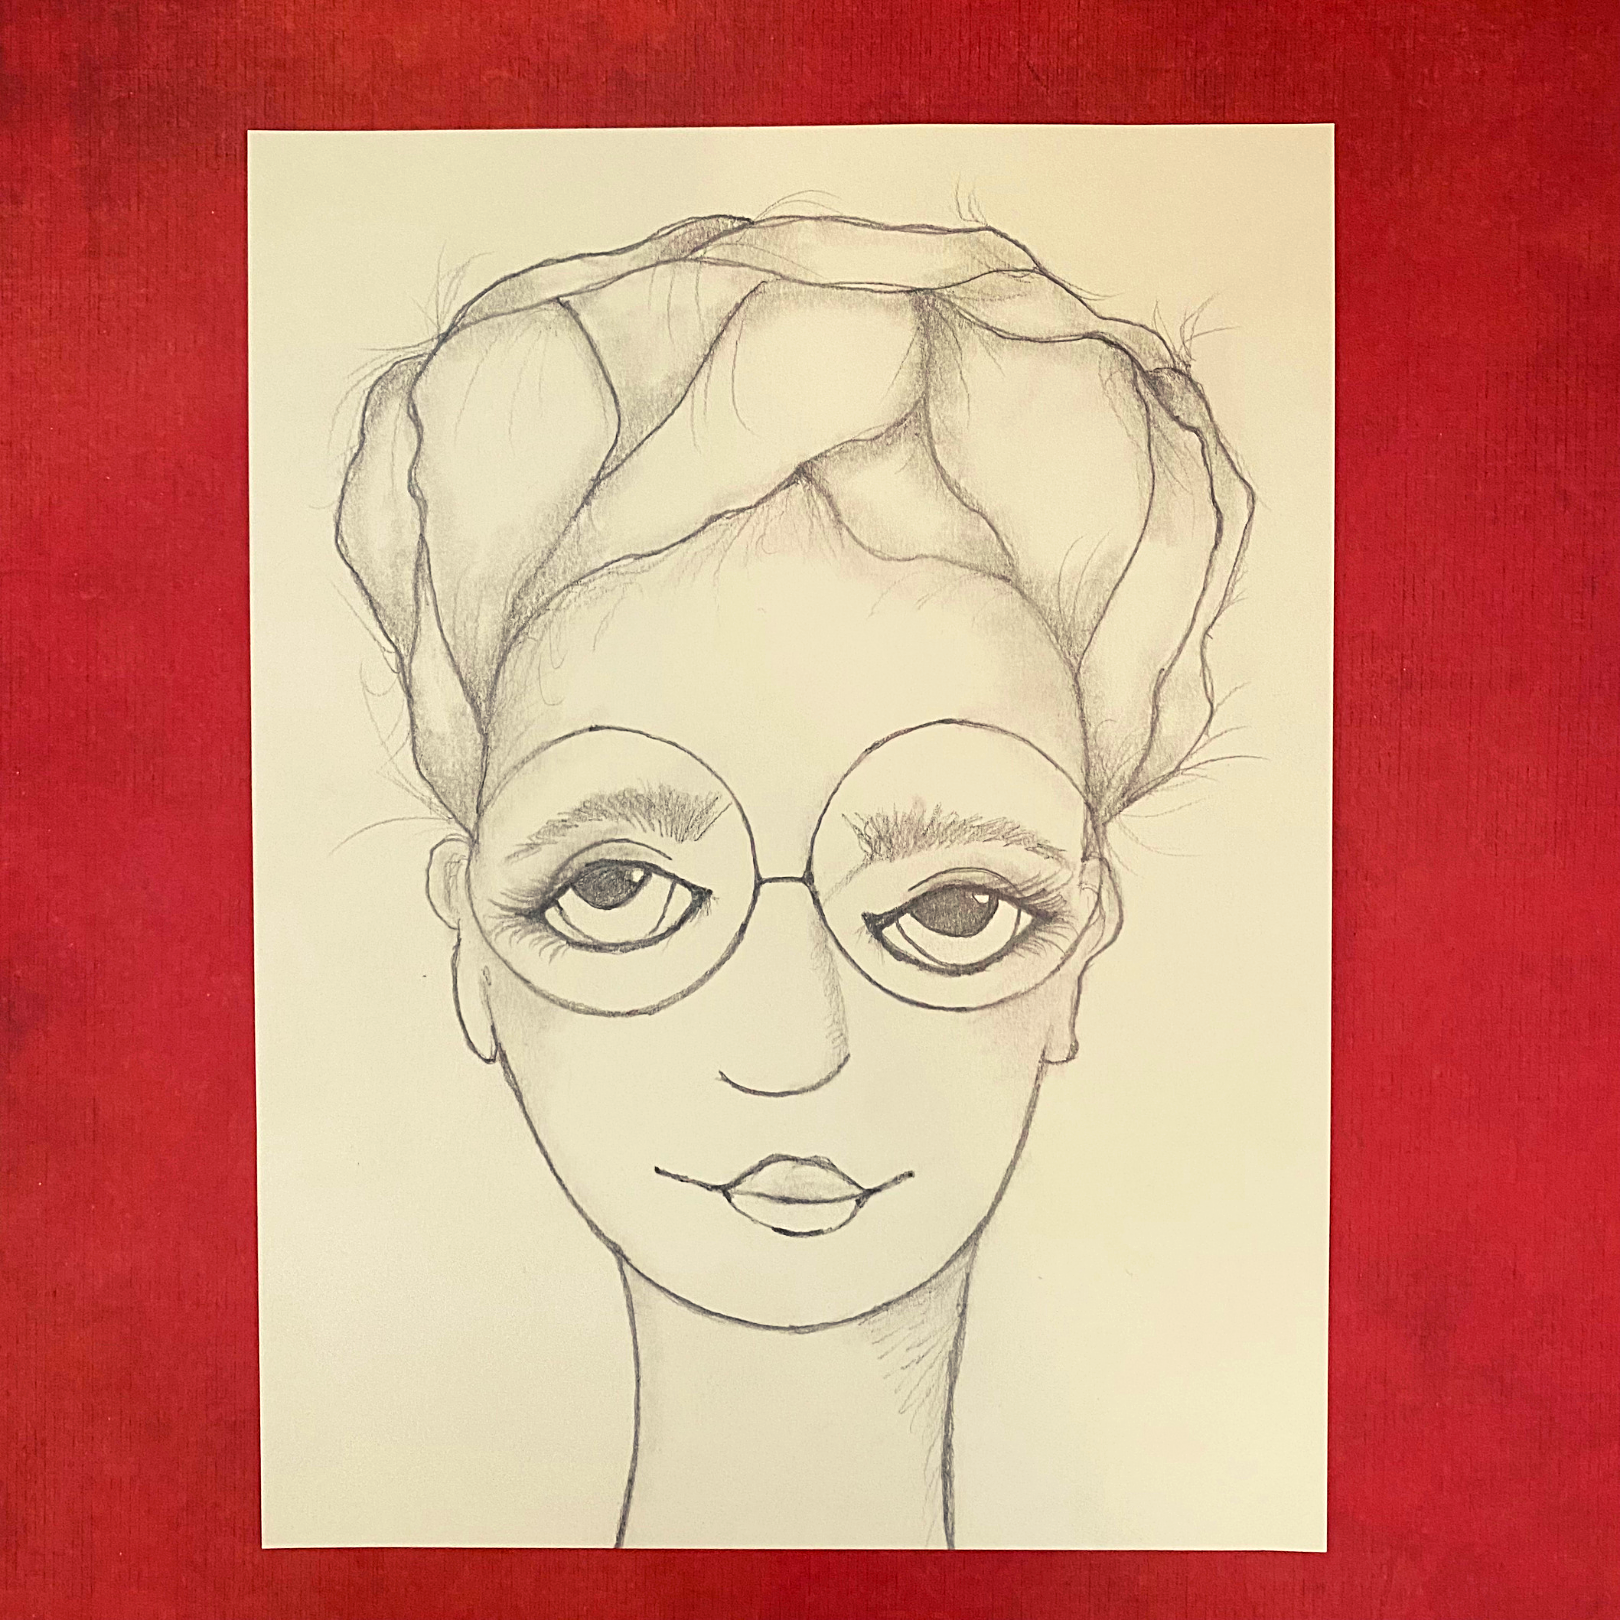
Rub the cotton swab over your drawing to add shadows and soften your lines. Give your portrait some personality: darken some of the lines, smudge the lines to add shadows, add eyelashes, ears, glasses, lots of hair, earrings, doodles, words—have fun!
Step 9: Color (Optional)
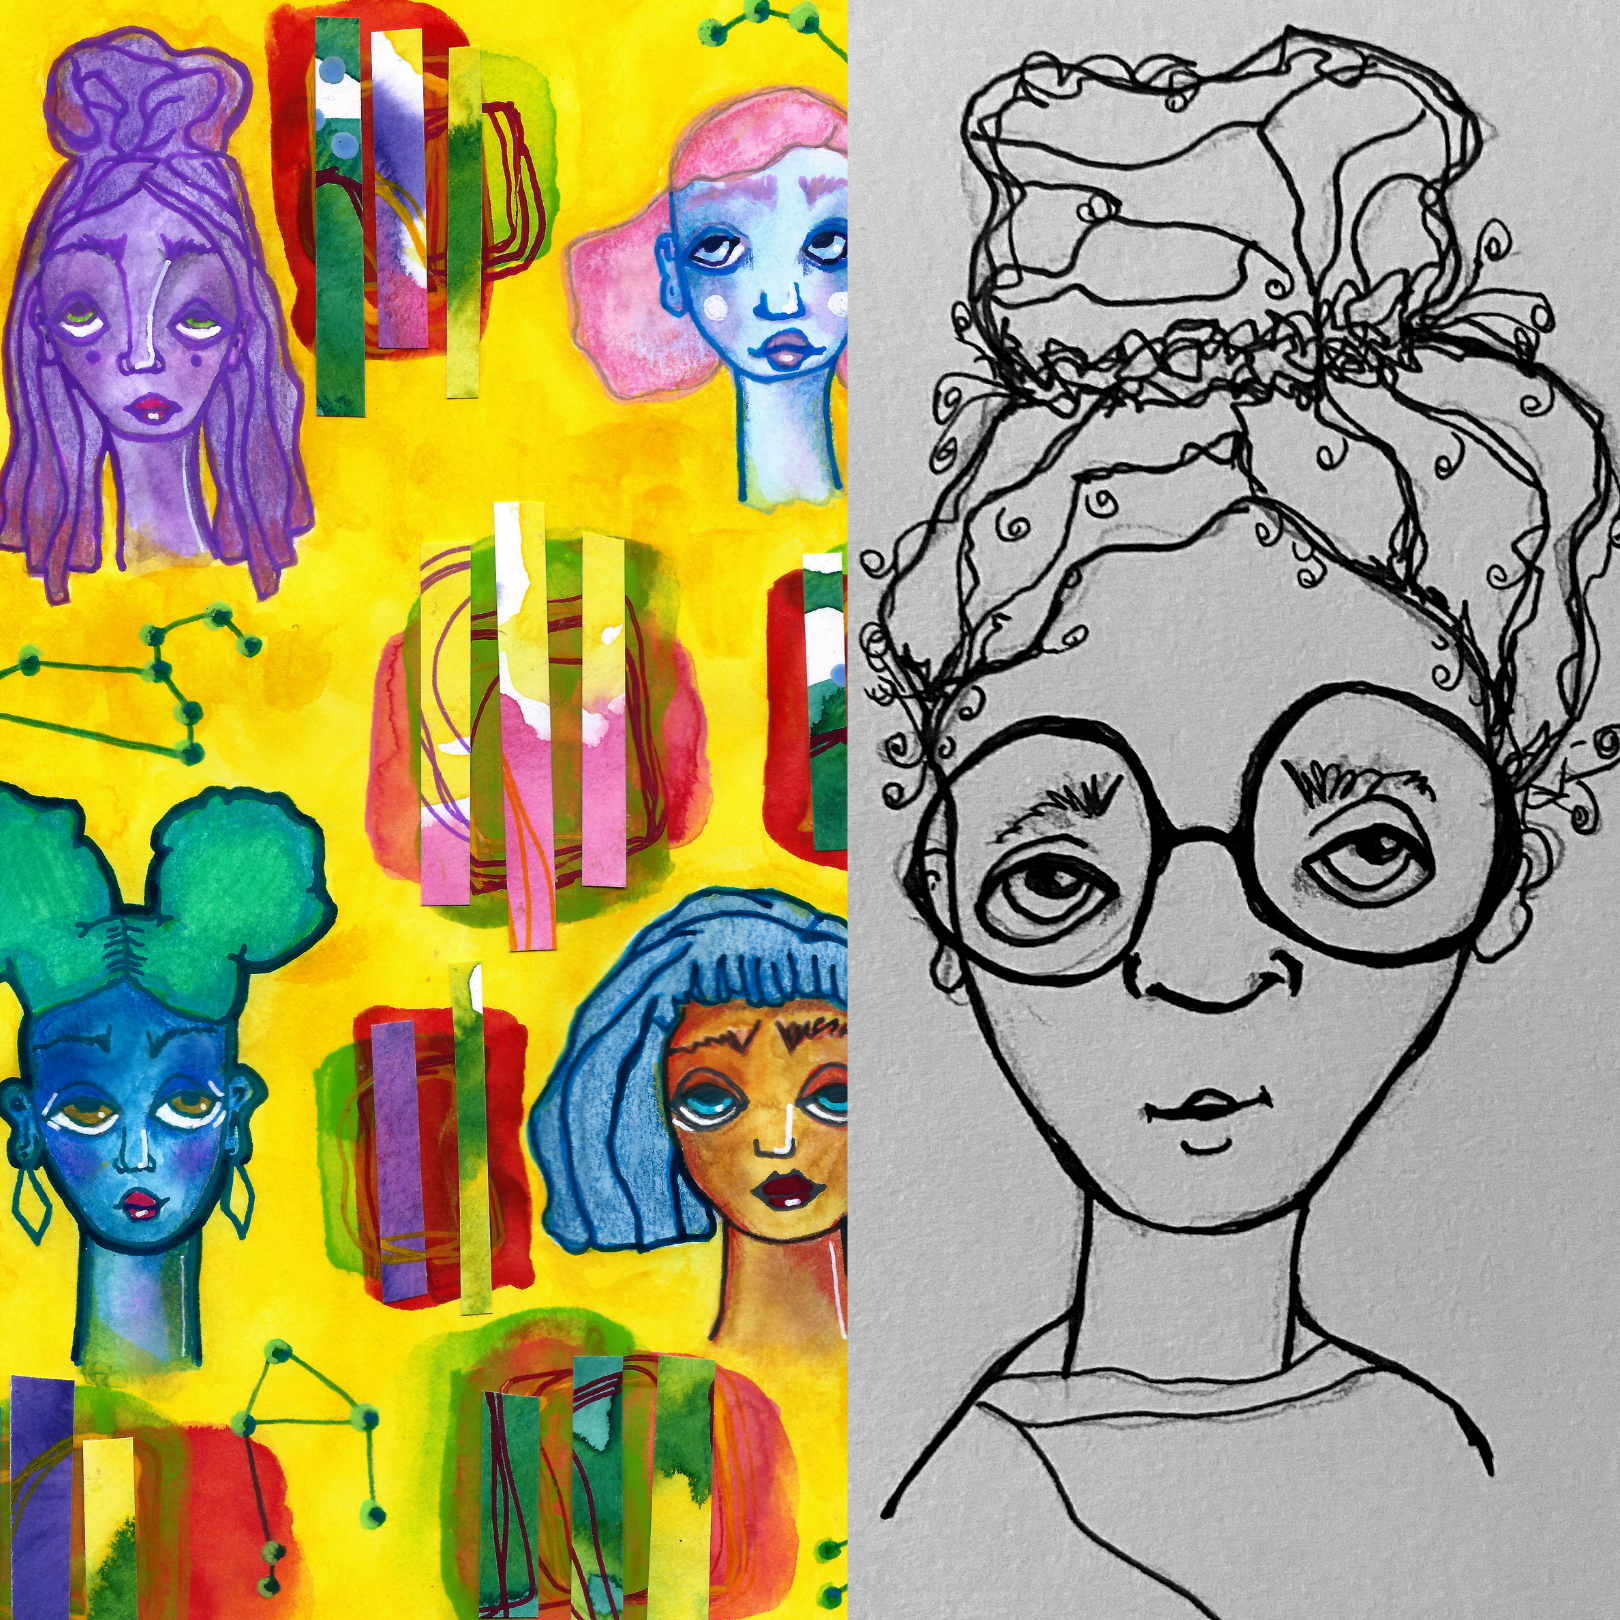
Add color with paint, markers, and/or crayons—whatever you have on hand.
Step 10: Do It Again!
Keep practicing and having fun while you do. Just relax and explore the faces that will appear—and they will, I promise. It's magic!
If you share your artwork on social media, tag us at @lacma! We love seeing your art!
Check out other Andell Family Sundays Anytime activities on YouTube and Unframed.
Imani Tolliver (she/her) is an award-winning poet, artist, educator, and producer. She is the author of Runaway: A Memoir in Verse.


