Polka dots, colorful cars, geometric shapes… Red, green, fuschia, yellow… The colors, patterns, and fun designs all over the textiles, furniture, and even toys in the exhibition Scandinavian Design and the United States, 1890–1980 are the perfect inspiration for your own craft project, like the homemade book activity you’ll learn to make in this post!
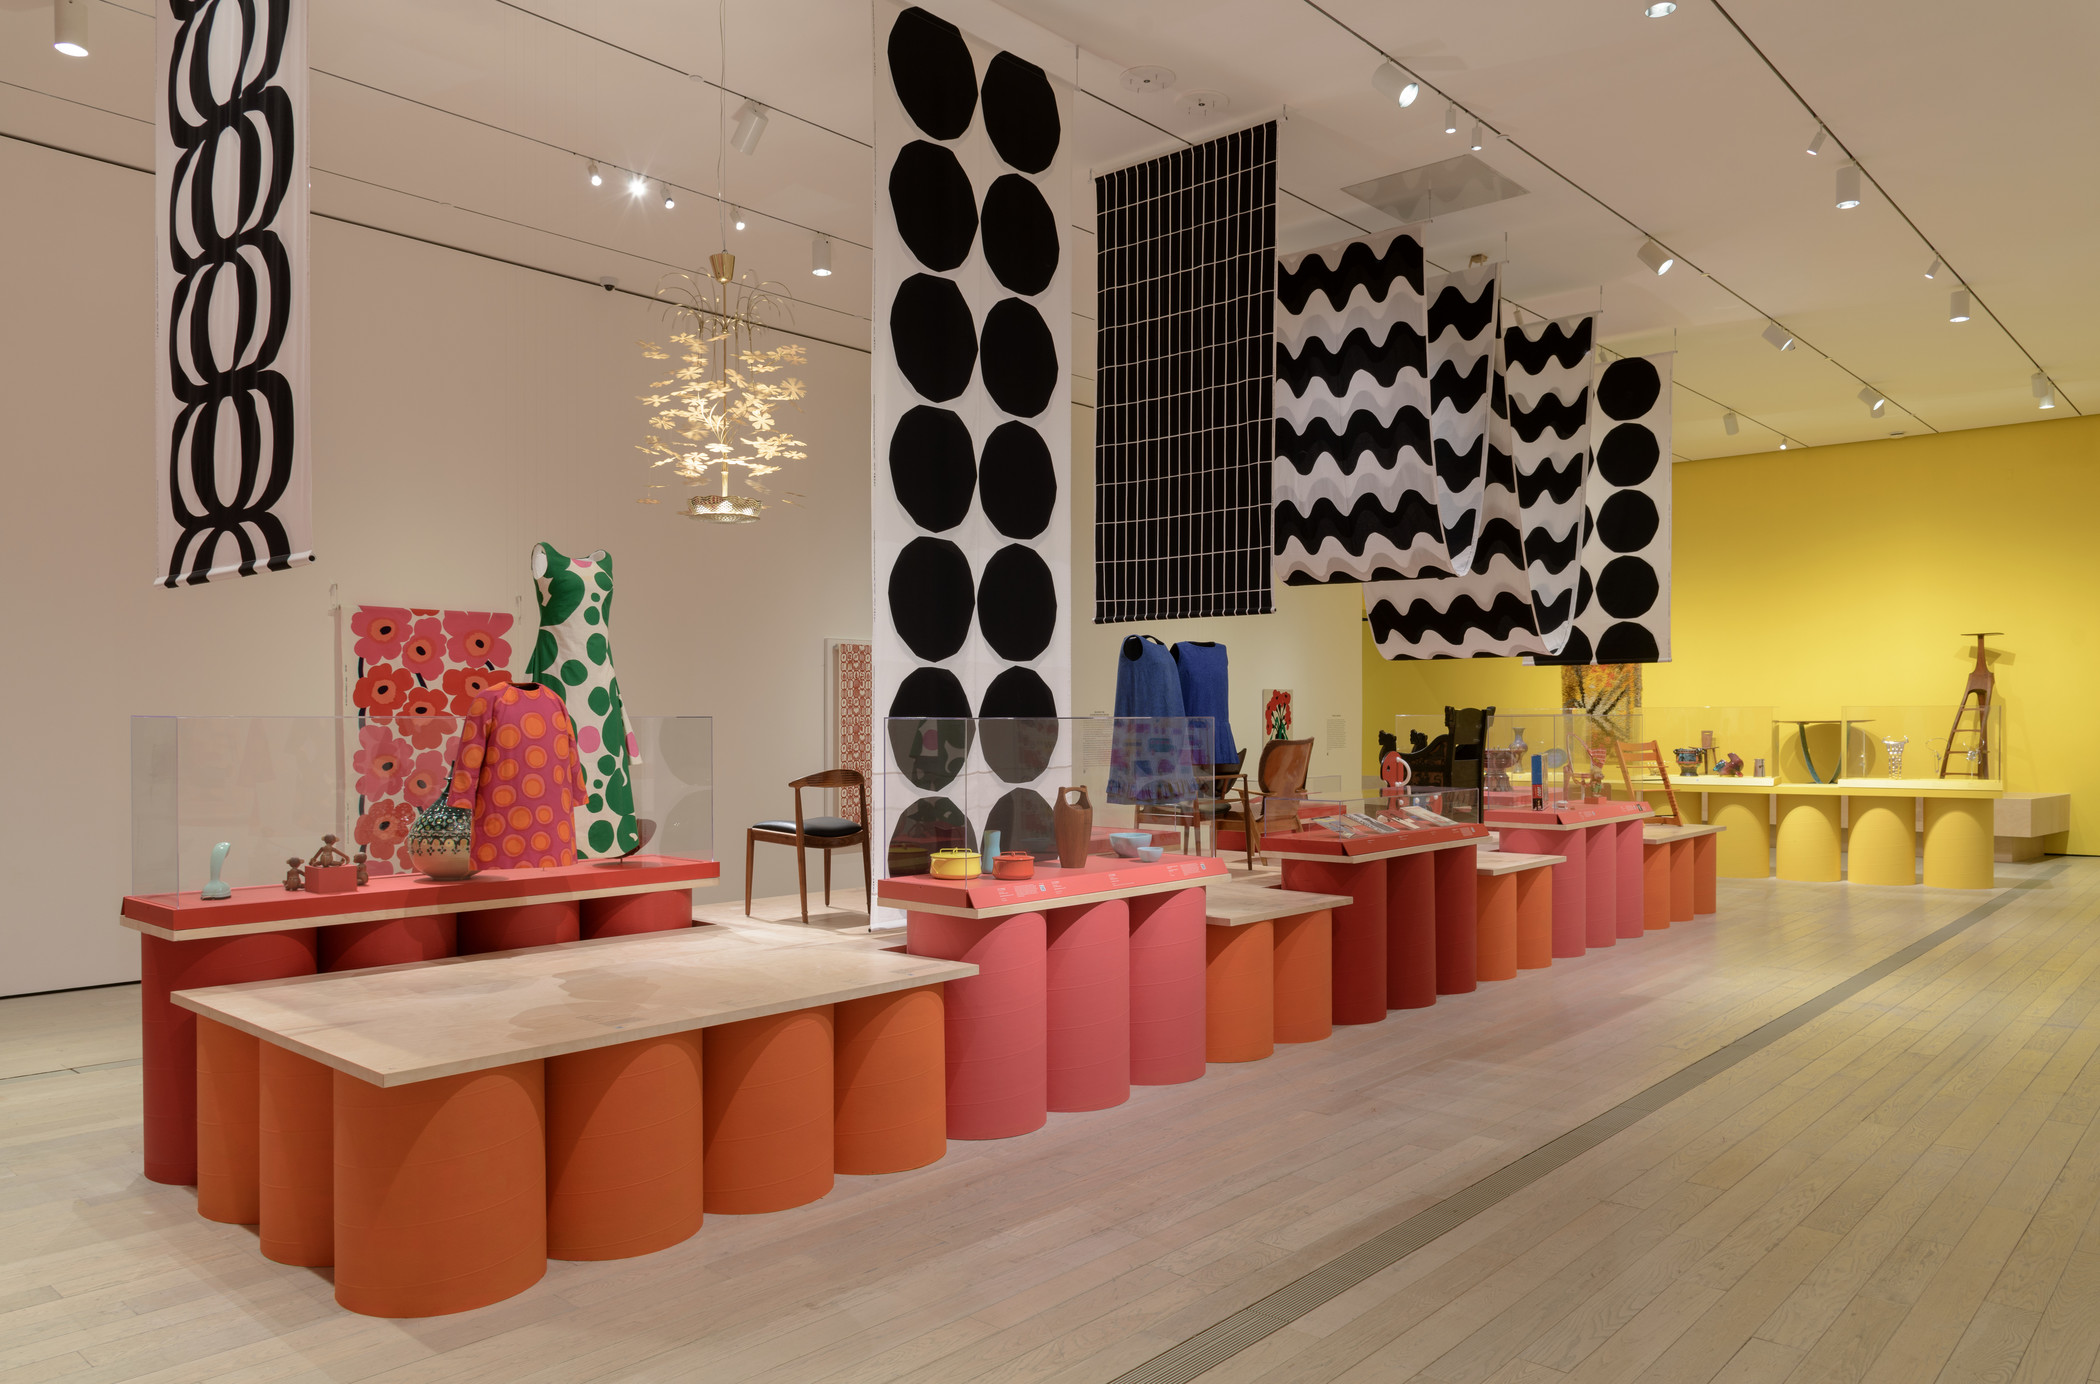
What you might have noticed if you visited the exhibition were all of the bright colors and bold shapes, like the polka dots and other shapes in these dresses.
You might notice how brightly colored shapes are put together to create things you can recognize, such as the cars, trucks, and buses in this bedsheet.
Sometimes shapes and colors are combined to create designs that encourage you to see things in them, like the tapestry “Masker” designed by Viola Gråsten. What do the designs make you think of? (Hint, the title is a giveaway!)
Let’s make a simple folded book out of paper and add shapes to it, inspired by the objects you see in the show!
The materials you will need are:
- A strip of sturdy paper, any dimensions. A larger, longer sheet will create a larger book, and a smaller, shorter one will create a smaller one. Try not to use paper that tears easily.
- Colored cardstock or tagboard that can be easily folded
- A glue stick
- Scissors
- Construction paper, cardstock, or other colorful paper scraps
- A pencil with an eraser
First, let’s make the book. All you need to do is fold!
Following the pictures, fold your strip of paper in half. Make sure all your folds are sharp and crisp.
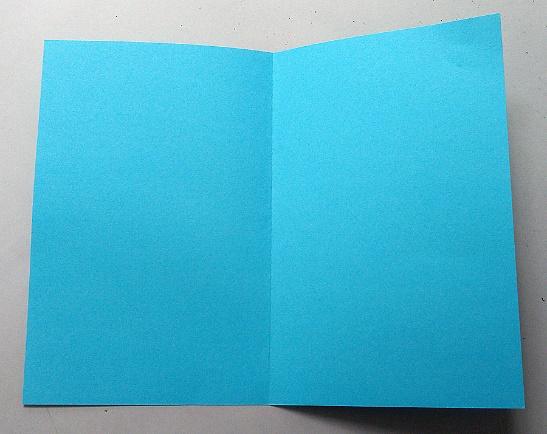
Then fold each half in half, bringing the edge to the center fold on both sides.
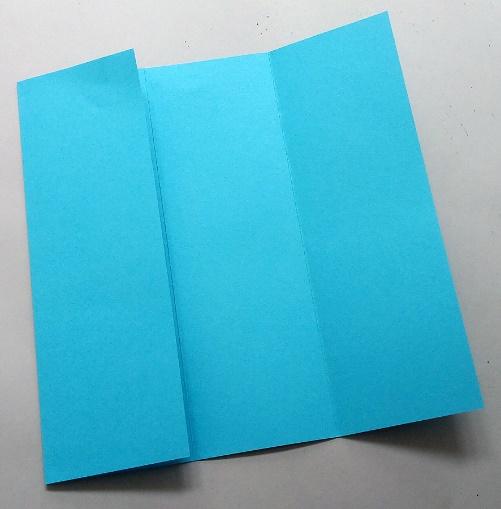
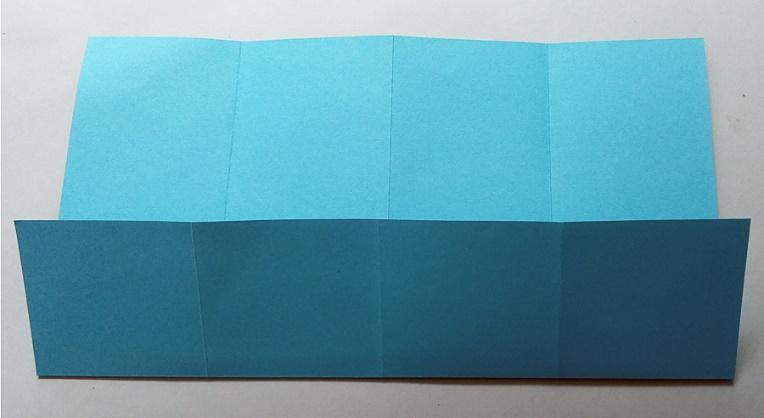
Then unfold your strip and fold the bottom edge up evenly to make a pocket!
When you refold your strip, you will have four pockets and three folds. Later you can put things in the pockets! Use your glue stick to add a thin line of glue along the open edge of each end pocket so that it won’t flap open.
Now, onto our exploration of shapes and colors inspired by the exhibition!
Using your pencil draw repeated shapes in whatever sizes you like on colored paper sheets and/or scraps of your choice. Polka dots are always fun! You can also try squares, triangles, and other geometric shapes, or shapes with softer edges called organic shapes. You can even make up your own new shapes! Just draw a line and connect where you end it with where you began it!
Use your scissors to cut out your shapes, then glue them on the outside and inside surfaces of your book!
You can try using colors that are very different, like blue and orange, yellow and purple, or red and green.
Or, colors that are more alike, like red and purple, or blue and green.
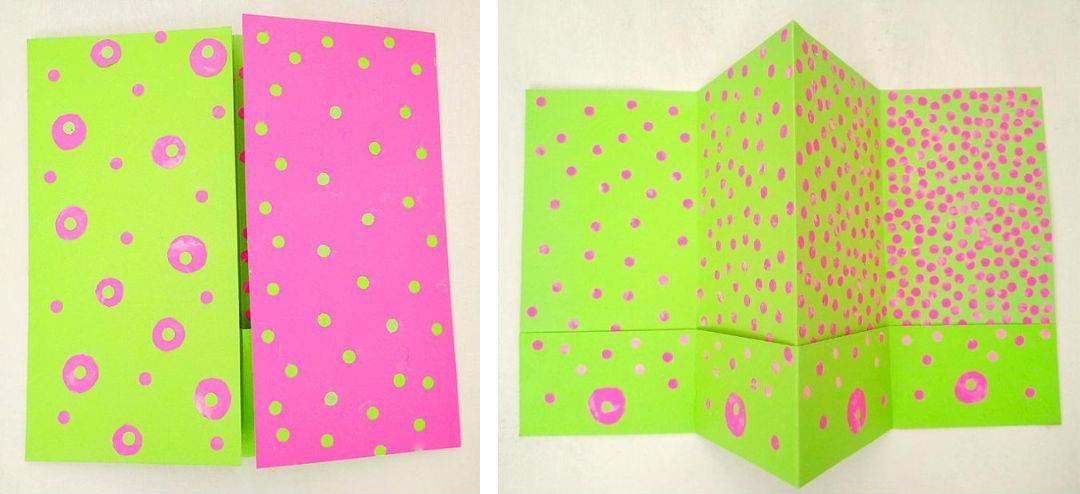
In the example below, I used bright pink and green for my whole book!
You can glue shapes on top of each other, fill all your pages with shapes, or leave more “empty” space. Up to you!
Congratulations! You have made an accordion fold book with pockets developed with shapes you drew, designed and added yourself! You can keep any paper scraps you want to save in the pockets of your book, along with other treasures such as poems, wishes, stories, and hopes and dreams you have for the new year and write down! You never know what will come true.
If you share your artwork on social media, tag us at @lacma! We love seeing your art!
Discover other family-friendly art-making blogs on Unframed and check out our video content on LACMA's YouTube channel.

